Wednesday, February 2, 2011

Every now and then I find these Lang calendar holders at thrift stores.  Here’s what they look like new:

I’ve been wanting to paint one for awhile ‘cause they’re nice and big, and I like the slightly scalloped edges.
Here’s the one I snatched up…
before
I basecoated everything with Rustoleum Heirloom White paint. My client loves harlequin patterns as much as I do, so that’s where I started.
Here’s how I do harlequin patterns….
I only wanted the pattern around the edges, so I covered the center.
blog2
The first line I draw is always from a corner to the center of the frame:
blog2a1
After you decide how big you want your pattern (I chose 3 inches), you just use a ruler and draw lines 3 inches apart from your original line like so:
blog2a11
Then repeat the lines going in the other direction.  Mine looked like this when I was done:
blog2a
I thought it needed more, so I put a border in … using painters tape for straight lines.
blog3
I used my Cricut to cut the word “Blessings” and made a template for painting:
blog4
This was a LOT of trial and error….centering, adjusting, lining up…
blog5
and lots of scraps…
blog6
But in the end, the results were good:
blog8
blog9
distress detail…
blog10
blog11
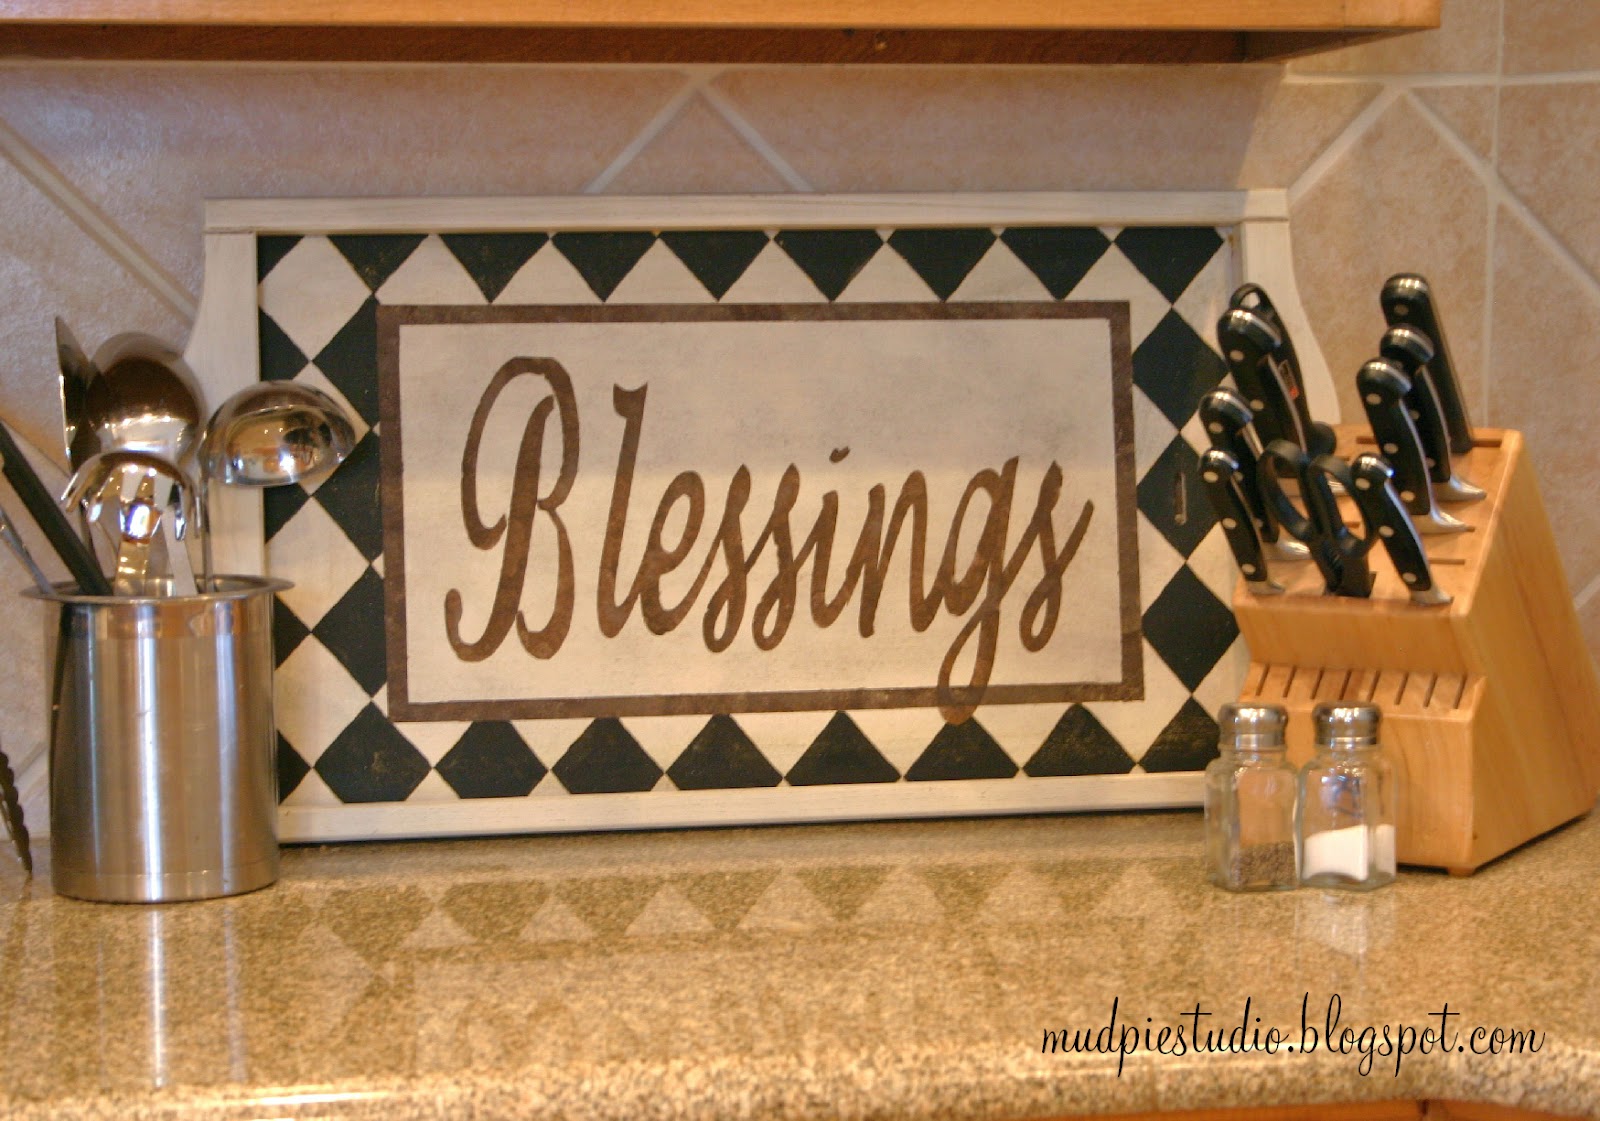
The yellow diamonds were a golden ochre color, yet the client opted for black diamonds. Happy to oblige, and so the finished project looks like this:
blog12


blog14
I have a few finishing touches to add, but this project is just about wrapped up.  I’ll show a final photo when it’s done.  Thanks for visiting!

Linking up to Thrifty Decor Chick!

Linking up to CSI Project Typography party 


Visit thecsiproject.com

Monday, January 31, 2011

Here’s an easy spring craft I recently created.  I started with a coffee mug from a thrift store…
blog2-1
Apply some sandpaper or other scratchy material to give some grit to the finish so it will hold some paint.
blog2-2
Next,  apply some glaze with a sponge brush and then wipe off with a paper towel.  Here is the glaze I use:
blog2-3
Applying the glaze will give the cup a bit of a distressed and aged look like this:
blog2-4
I grabbed my acrylic paint (color = Buttercrunch) and used a dry brush to create even more layers…
blog2-5
Doesn’t it look more weathered now?  Just the look I wanted.  Next, I filled it with some brown straw and a bird. 
blog2-6
Tweet. Tweet.
blog2-7
Nice as is, but even better in a group of spring decor…
nest5
Check out my previous post to see a tutorial on the basket on the left.

Friday, January 28, 2011

This little ceramic basket I found at a discount store was in need of a little something:
blog1-1
A little too “cutesy” with the bright pink gingham ribbon, but the potential was there for a makeover.  So I removed the ribbon and introduced the basket to these guys:
blog1-2
After sanding it down, you’re left with a little “tooth” on the finish so that it will hold paint or, in this case, glaze…
blog1-3
After sponging on a little glaze and then wiping off,  I was starting to see a difference…
blog1-4
blog1-5
This brown and white polka dot ribbon gives the basket a whole new personality, don’t ya think?
blog1-6
I topped it off with a bird and nest for some simple and fresh spring decor….
blog1-7
What do you think?

Linking up to Funky Junk. 

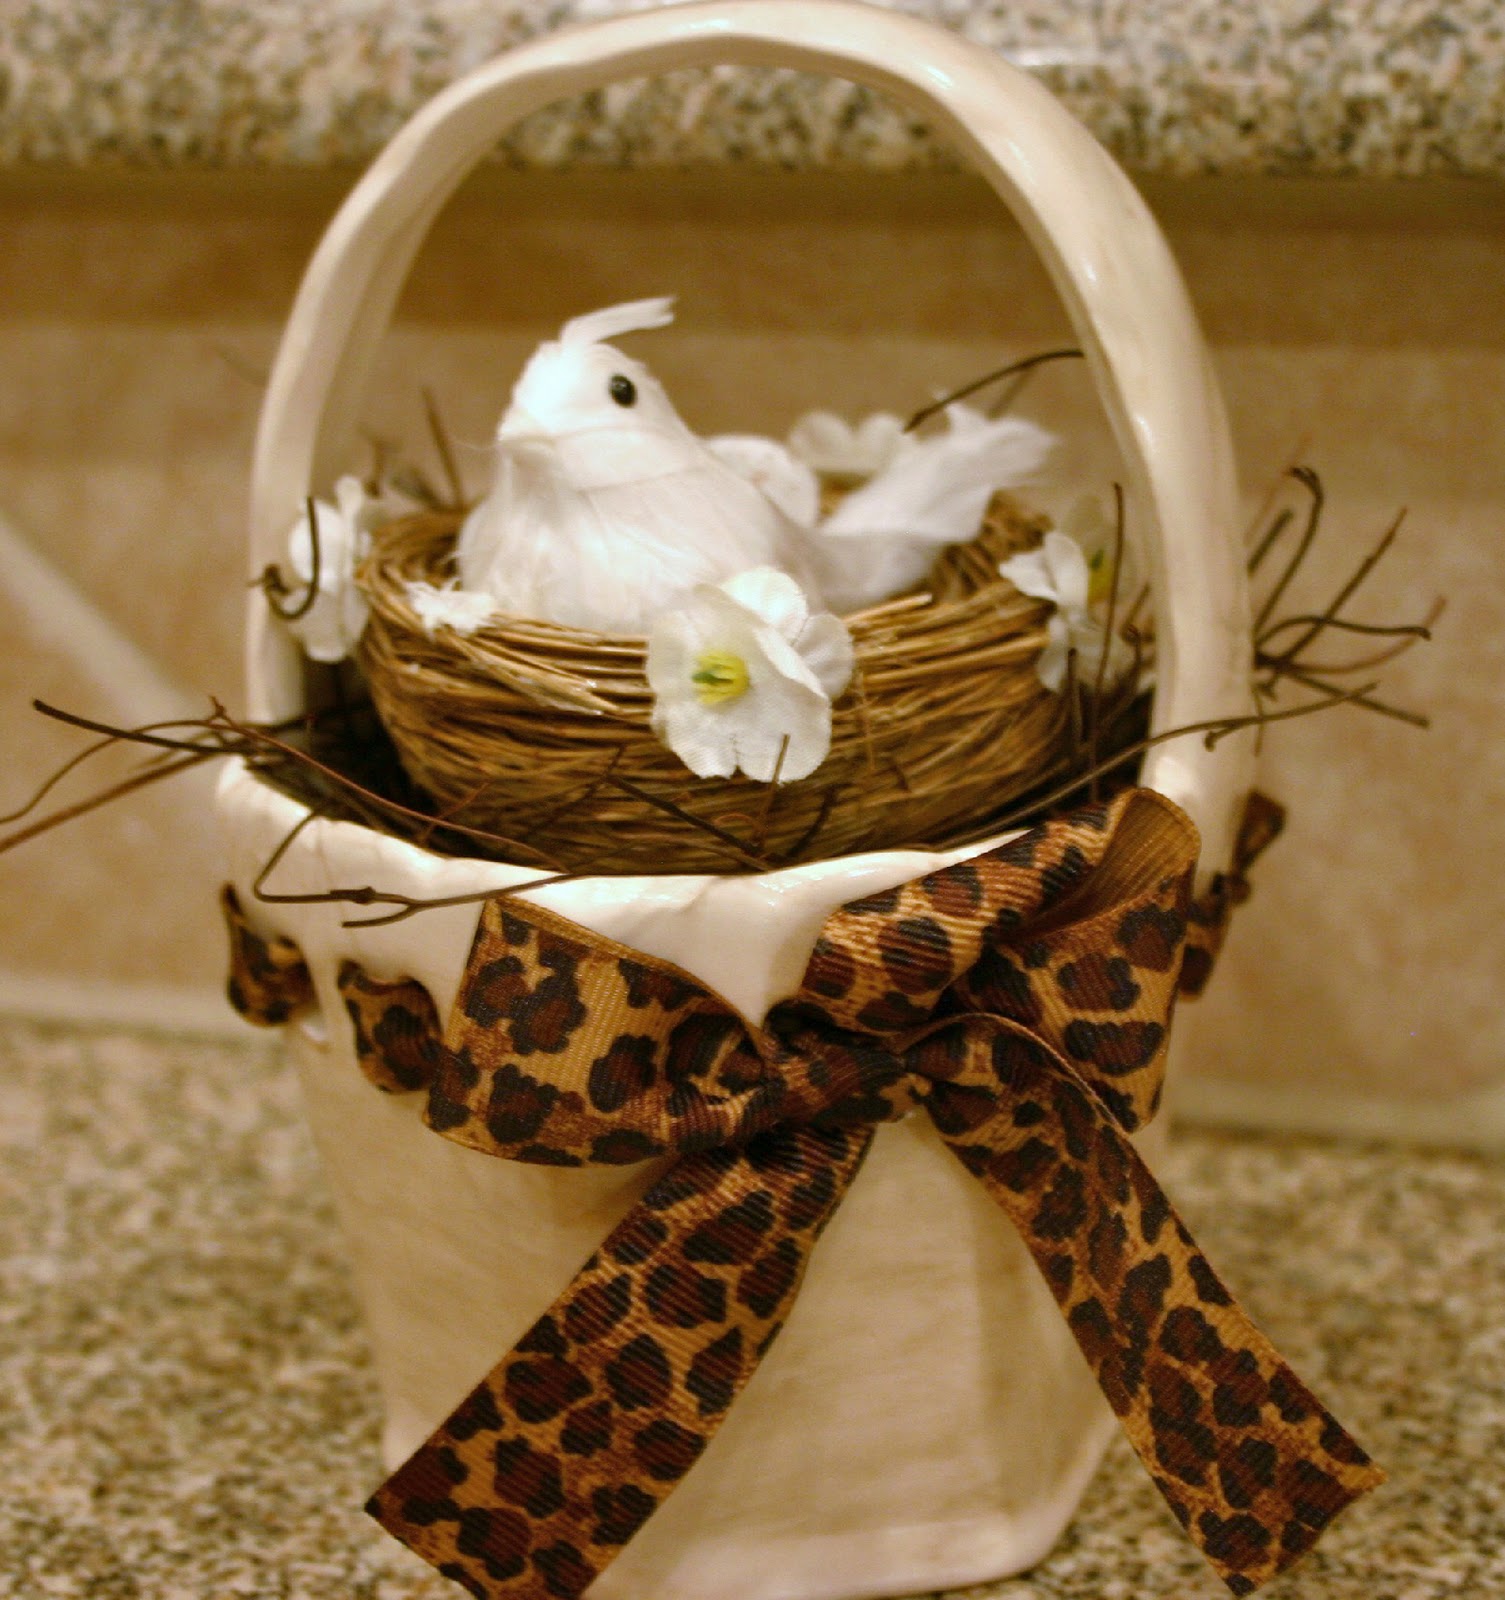
Update:  Client requested leopard ribbon. Rawr.


Linking up to Thrifty Decor Chick
CSI Spring Challenge

Saturday, January 22, 2011

I got so much great feedback on this project I wanted to post about it again.  Don’t forget when you empty some of these boxes…
box1
You can create some really fun little Valentine shadow box decorations like this:
before and after shadow box with text
Here’s a whole grouping…
box 13
Great for ornaments, decorations, Valentines or string together for a garland.  You can find my tutorial on how to make these here.
These can be done with any size box…
cereal box before and after with text
And they can be made for any holiday…
group pic
group pic2
Now treat yourself for a job well done…
candy
Enjoy!  Linking up to

Tuesday, January 18, 2011

We’ve lived in the house for five years and I decided it was finally time to give some love to the kitchen cabinets.  Hello, hardware!
Here are my before and after photos … little things … but what a big difference I appreciate daily …
before and after1
before and after2
before and after3

before and after4

before and after5

before and after6

before and after7

before and after8

before and after9
before and after10

before and after11
I really, REALLY wanted all the drawers to have pulls that looked like this:
cabinet pull
But, we have a LOT of drawers and at about $4.50-$5 per pull, my “little project” was becoming huge.  So, I settled for simplicity and got the same bronzy look on a simple handle throughout the kitchen.
I did get my “fix” though and put a few of my fave drawer pulls on this dresser that I painted…you can read about this makeover here.
IMG_0620
Thanks for visiting! More house projects coming up soon!

Saturday, January 15, 2011

Hand painted and stamped coffee-stained tags I made as a thank you for a custom order I just completed.  Love a quick and easy project…

IMG_2162
Posted in :
Powered by Blogger.