Monday, February 27, 2012

button3
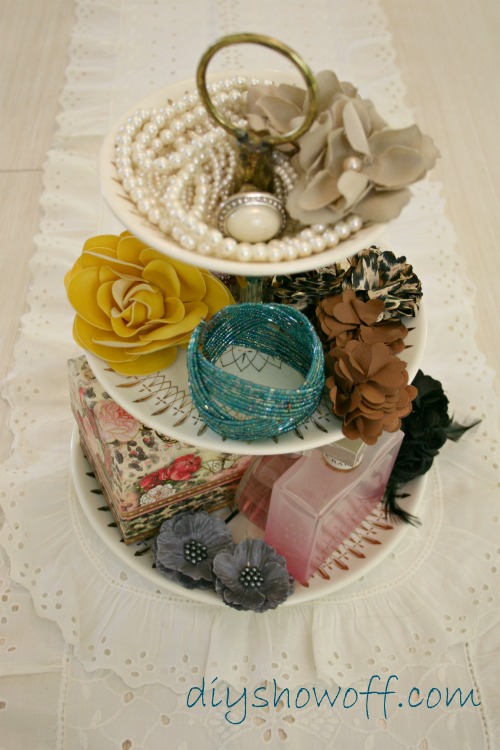
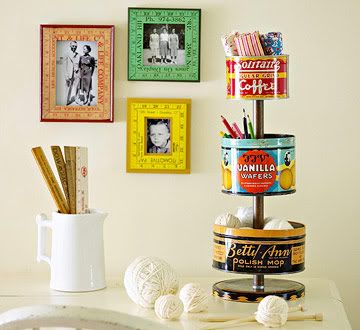
I am loving the look of tiered plates and  stands these days.  And they’re everywhere!  They make great centerpieces, organization centers, and they work well for  food serving, special occasions & especially holiday decor. 
I think I know what kind I’d like to make, but I’m at a loss of how to decorate one, so I’ve been gathering ideas for awhile.  Today I’ll share them with you … enjoy!
~~~
What to start with?
First, wow.  So many outstanding options of how to create one!  Many different surfaces with many different looks!  Look at these great ideas:
1. Pinned Image
source

2. created at: 09/12/2011 
source
7.  Pinned Image
source
10. Pinned Image
source
11. Pinned Image
source
12.  http://img2.etsystatic.com/il_fullxfull.253943478.jpg
source
13.
source

14. source
Looks like a number of different objects and surfaces will work. Which one is your favorite?
~~~
Decorating
So it seems the options for decorating these tiered stands and their functions are endless!  Seasonal decor, food presentation, craft storage, jewelry displays, etc.
Here are some beautifully decorated seasonal stands…
Spring
15. Pinned Image
source
16. Pinned Image
source
17 .
source
18. Pinned Image
source
19. tiered wire metal basket easter setting idea
source
20. Pinned Image
source

21. French Wire Egg Stand
source
22.
source
23.
source

Summer
24. 4th of July decorating, patriotic decorating, americana, red,  white & blue decorating ideas,4th july decorating ideas
source
26.  for the pedestal!
source


28. Martha stewart july 2007
source


Winter
29. Pinned Image
source
30. Pinned Image
source
31. Pinned Image
source
32. Pinned Image
source

33. Pinned Image
source
34.cake stand
source

35. Pinned Image
source
36. Pinned Image
source
37. Pinned Image
source
38. tiered holiday  stand
source
39.
source


Fall
40. Pinned Image
source
41. Pinned Image
source

44. Pinned Image
source
45.
source

46. Pinned Image
source
47. 3-basket centerpiece w/ pinecones
source

48. Pinned Image
source
49. Pinned Image
source

50. source
~~~
Food
Seasonal or not, these tiered stands look like they make fantastic food servers!
51.
source

52. Pinned Image
source
53. Pinned Image
source
54.  Pinned Image
source
55.
source

56. Antique-Silver 3-Tier Stand
source
57. Pinned Image
source

58. Pinned Image
source
59. source
60. Pinned Image
source
61. Pinned Image
source
62.
source
64. DSC_0428Source
65. Gabriella Tiered Platter Stand
source
66.

~~~
Everyday Decor
67. Pinned Image
source


68.
source
69. Wire 3-Tier Basket Standsource
70. Pinned Image
source
71. Pinned Image
source
72. 2-våningsfatsource

73. Vintage,  tiered jewelry stand
source
74.
source
75. Pinned Image
source
76.
source
77. Pinned Image
source
78. three-tiered platter source
79. source
~~~
Craft Organization
Looks like these stands could also make a great way to organize my desk.  Calling all craft supplies…
80. Pinned Image
source
81. source
82.
83. Pinned Image
source
84. Pinned Image
source
 
85.
source
86. Pinned Image
source

87. Pinned Image
source
88. Pink striped corkboards hang above a work space with three-tier  cake standssource
~~~
 Bathroom Organization
And they’re great storage keepers for all those miscellaneous bathroom items, too…
89.Pinned Image
source
90.
91. Pinned Image
source

92. Pinned Image
source
93. Pinned Image
source

94.
~~~
Outdoors
Finally, what about incorporating these stands on the patio with an assortment of plants and flowers…
95. Pinned Image
source
96. Pinned Image
source
98.
source
99. Pinned Image
source
100.Pinned Image
101. Galvanized Metal 3-Tier Standsource
Well, now I’m motivated to make and decorate a tiered stand or two…aren’t you?  Now to decide what to use and how to decorate it!
Thanks for visiting!
button3
Disclaimer:  Thank you to all sources.  Your creativity is inspiring, and many thanks  for sharing it with us.  If your photo has been incorrectly sourced (or if you wish to be removed from this list), please let me know and I’ll correct asap.

Thursday, February 16, 2012

before and after

Several months ago I created a piece of subway art to hang over the buffet in our kitchen.   It features all sorts of cooking terms … it just made sense since my hubby and I are both big cooks.

 before

But, I always thought the 3 pieces of artwork were too close together and never did stand out like I wanted it to.
So, not too long ago I made a new one:

 after2

This canvas is much larger (2’x3’) than the original wooden piece.  And I like it much better now!  Finally, I feel like it makes a statement and takes up all the visual space on that wall.

 
before and after

How do you like it?
Now if I can just figure out how best to accessorize the top of the buffet…
Thanks for visiting!

Wednesday, January 18, 2012

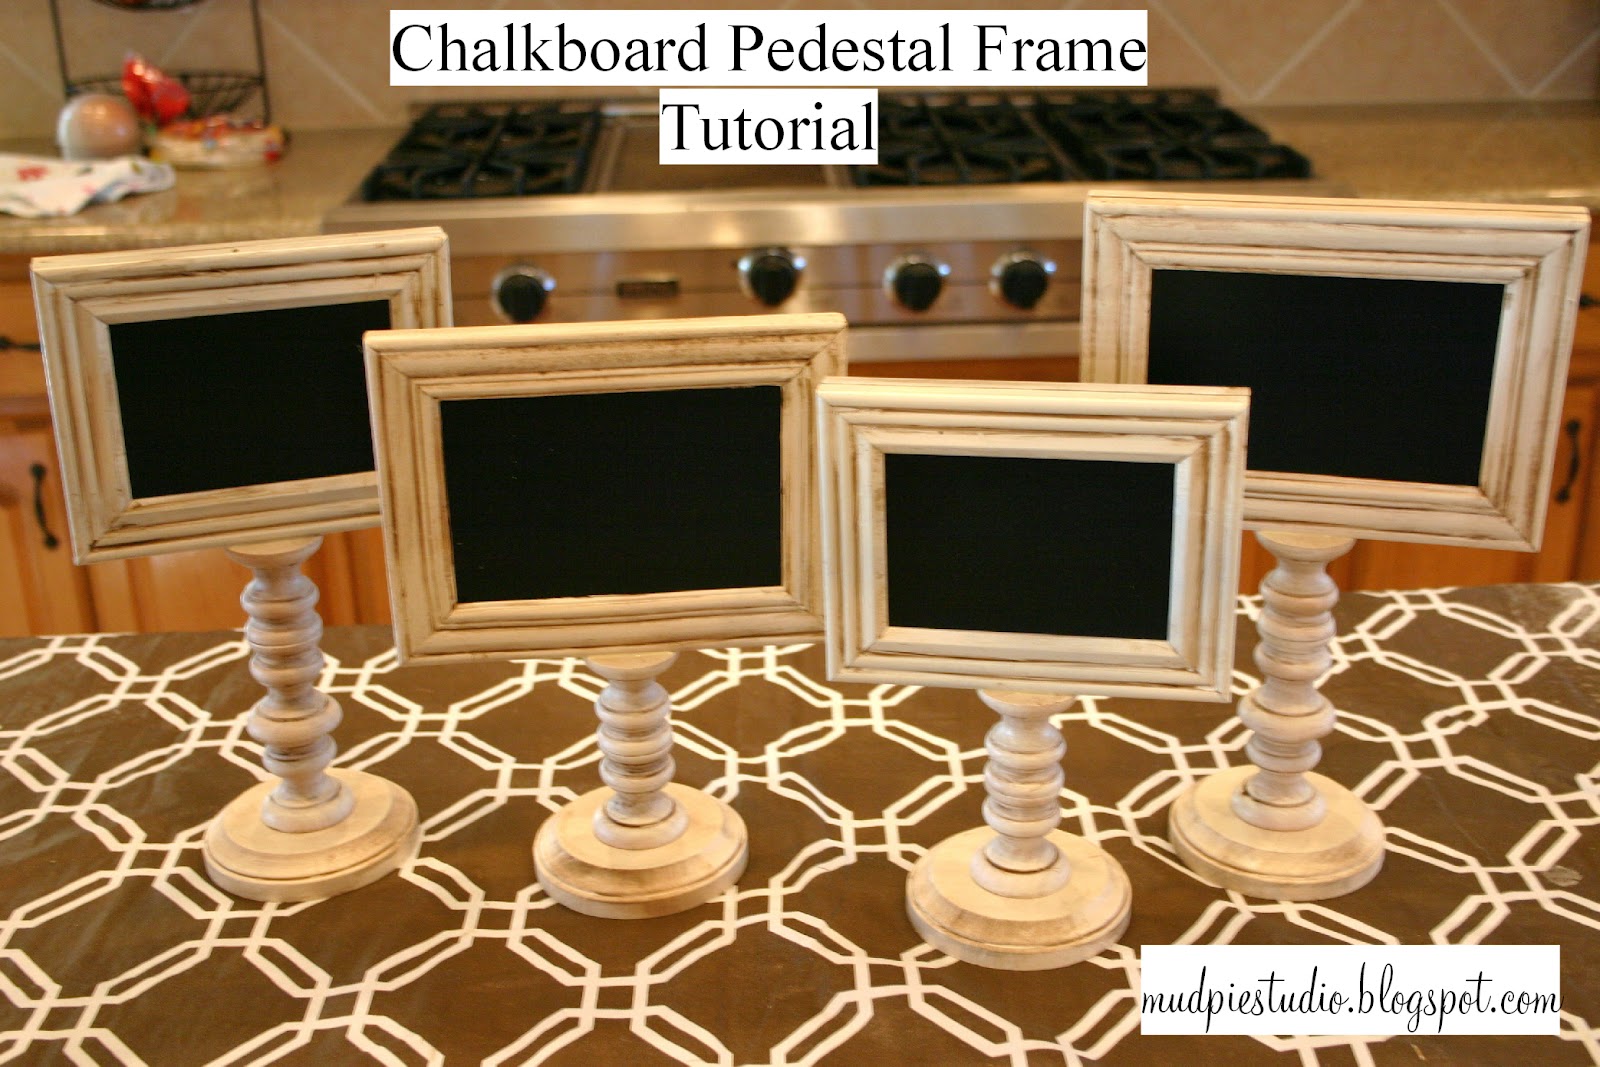
Today I’m sharing my tutorial on how I made some chalkboard pedestal frames.
IMG_7667
I started with a package of candle cups purchased here and some simple frames.
IMG_7651
The first thing I did was take apart all the frames.  Keep the parts for later.
IMG_7652
Using wood glue, I stacked up 2-3 candle cups to get the various heights,
IMG_7653
and then glued them together.
IMG_7654
Next I painted the frames with a creamy Heirloom White,
IMG_7656
and glazed them with Ralph Lauren’s smoke glaze.
blog1-3
I used a sponge brush to paint on the glaze and wiped it off with a paper towel.  This leaves some glaze in the grooves of the frames for the aged look.
IMG_7655
I did the same painting and glazing with the candle cups.
IMG_7658
No picture (sorry) but I also painted and glazed the round wooden discs which became the “base” of the chalkboard holders (see first pic). I purchased my 4 inch round wooden discs from Michaels and Hobby Lobby.  Any smaller wooden shape would work just fine!

Next, I took off the easel and hardware from the back of the frames.  (Keep the thick cardboard to use when putting it back together.)
IMG_7660
Next, I used the cardboard (in pic above) to measure my Contact chalkboard paper, and I cut a piece of chalkboard for each frame.  (I purchased my Contact chalkboard paper here.)
IMG_7661
The next step is to peel off the backing and attach the chalkboard paper to the glass.  Adhering it to the glass insures a smooth writing surface.  Place the glass and the cardboard backing back into the frame and now you have these:
IMG_7662
I wanted my chalkboards to be double-sided, so using the wood glue I glued them back to back…
IMG_7663
Then I grabbed some books to weight it down while it dried. It doesn’t take long to dry … maybe 15 minutes.
IMG_7664
The final step is to glue all the pieces together.  I glued the candle cups to the wooden discs first, then the chalkboard frames to the candle cups.
IMG_7665
IMG_7667
I used 4x6 and 3.5 x 5 frames.  Another option would be to place the frames vertical for a bit more height.  I am thrilled with how they turned out!
Want your own but don’t want to mess with making it? You can grab some from my Etsy shop!
Thanks for visiting!

Posted in : , ,
Powered by Blogger.