Last year I created a few of these pears and received several requests for a tutorial. Since I’m making a few more this year, I finally posting a a tutorial with new pictures.
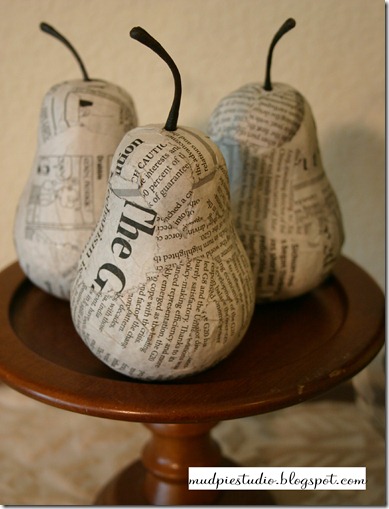
You can’t go wrong with a dollar craft, especially when it turns out better than you imagine. That’s why I was glad to see a few of these paper mache pears in the dollar aisle at Target a few weeks ago.
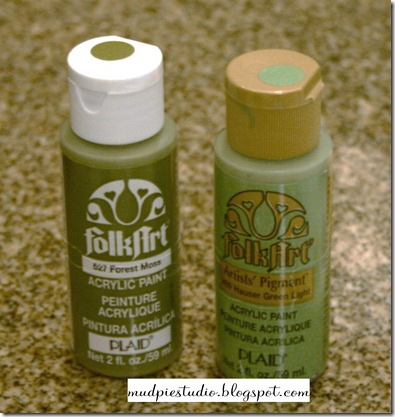
I used Folk Art’s Forest Moss and Hauser Green Light.
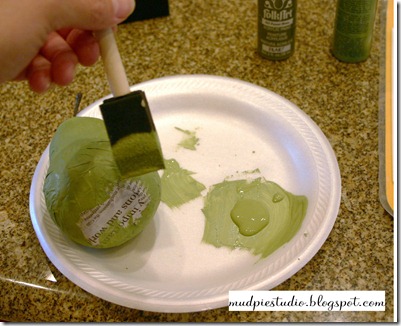
I just double dipped my sponge brush and then applied the paint evenly to the entire pear.
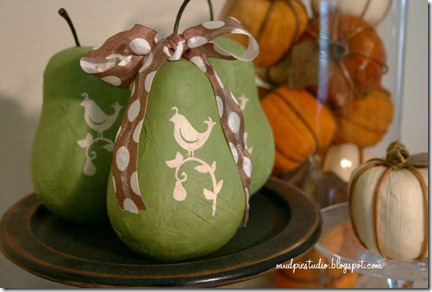
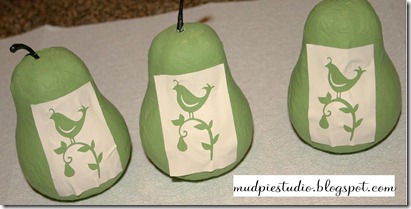
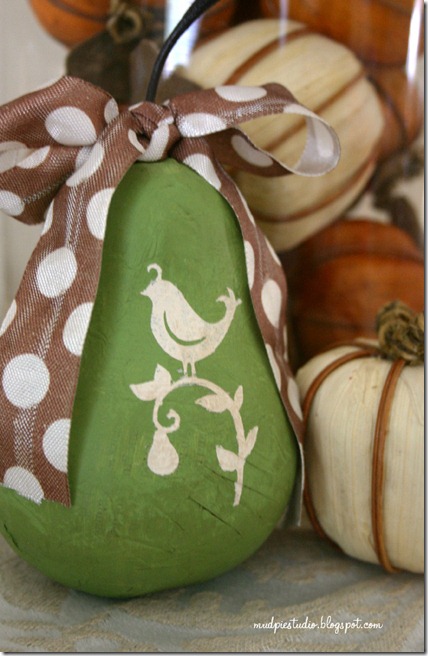
I used my Cricut to cut out a stencil of a partridge in a pear tree.
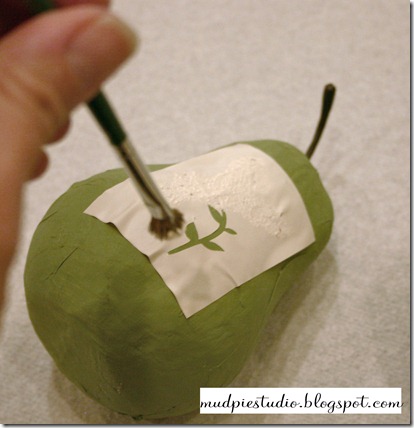
With the stencil in place, I used a scruffy brush to apply some cream paint. Make sure your brush is dry or the paint will bleed under the stencil.
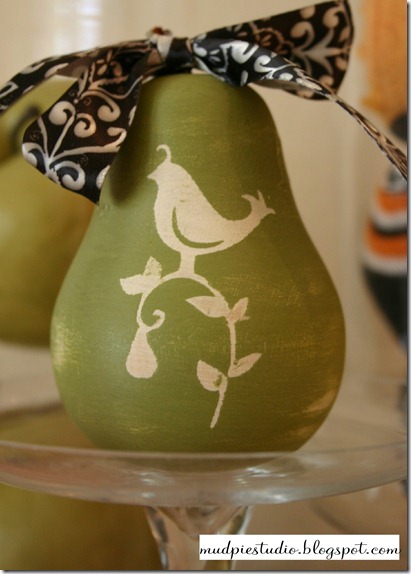
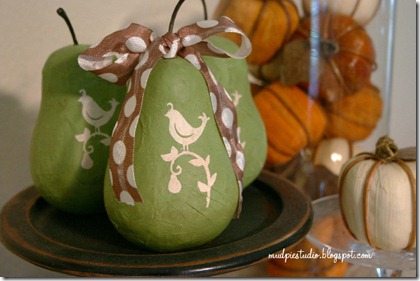
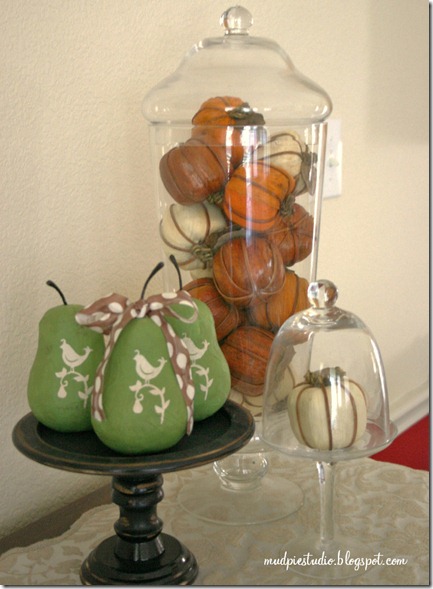
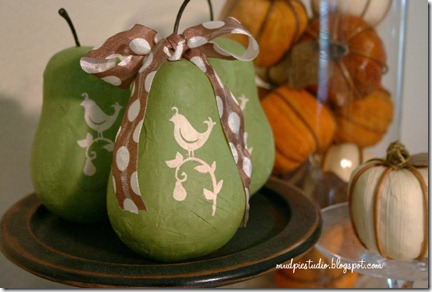
I topped it with some satin ribbon and placed it on a pedestal for show. This one is a wooden pear from a friend, which I lightly distressed:
Thanks for visiting today!
No comments:
Post a Comment