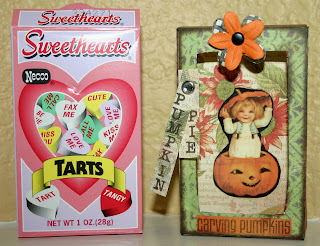
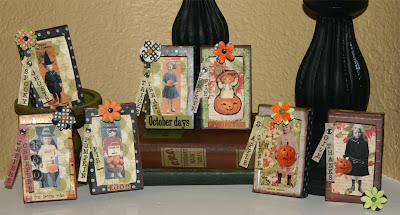
Last year I recycled some Valentine candy boxes and made cute Halloween shadow boxes out of them:
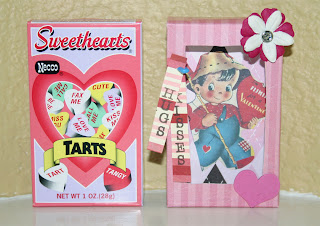
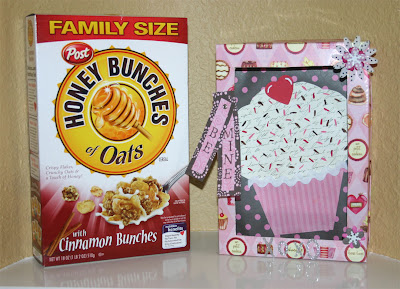
I got many compliments and comments on them (thank you!), so this year I'm doing more of them for Valentines Day and I'll show you how I did it. First, here's a couple of before & after pics:
Here are the supplies I used for this project (not counting the various embellishments used for decorating the finished boxes):
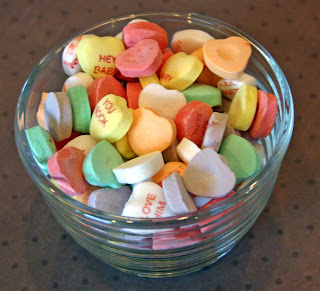
First, I peeled open the box on both ends and emptied out the candy:
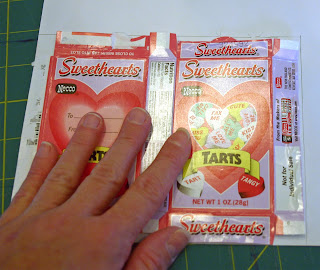
Now you want to look inside the box and find the seam holding the box together, and carefully peel it apart.
Look closely inside for the seam (see it at top?):
Now you're box should look like this:
Don't forget to periodically treat yourself while you're working hard...
Next, lie the box flat and using a ruler, mark the outline of the box on your scrapbook paper (you don't have to trace around every little divet). Just make sure your scrapbook paper will cover the tallest and widest points.
Now you want to glue (I used a Paper Studio glue stick) your scrapbook paper to the outside of the box. This means your paper is covering the labels on the outside of the box. Trim any extra paper around the box.
The outside of your box should now look like this:
And the inside should look like this:
Next you want to cut a contrasting scrapbook paper for the inside of the box and glue it in place. The good news is, you don't have to cover all of the inside, just the "back wall", aka the part that is going to show through the shadow box opening.
Now you need to cut a hole in the front of the box to create your shadow box opening. For this step, use a ruler and pencil and mark on the inside of the box where you want to cut. (Note: Don't make the opening too big because you'll want some area around the opening to decorate later.)
For this next step, I used my small scissors and poked a hole in the middle of the marked off area:
Then I cut around the marked area until I'm left with this:
Almost done! Now you just need to fold the box back into its original shape and glue the edges back together. I used tiny clothespins when I could to help hold everything in place until the glue dried. (Clear tape works well on the top and bottom flaps where there is no place to "clip" the flaps down until glue dries.)
Now the basic part of your shadow box is complete and should look somethin' like these:
Next is the FUN part where you get to decorate and embellish the boxes any which way you please.
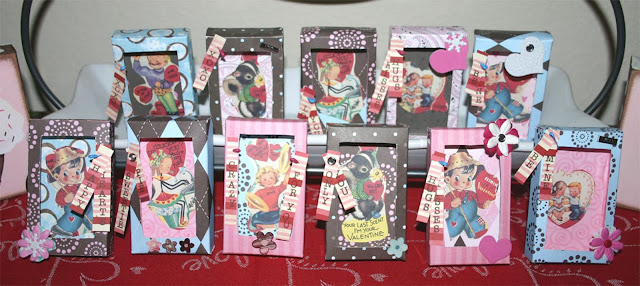
Here's a few of my finished boxes:
Great job and now it's time to reward ourselves again! So let's dig in...
This project would look great for any holiday. They make one-of-a-kind decorations. They can also be strung together and used as a banner, or glue a loop of ribbon on the back and use an ornaments.
Try experimenting with different size boxes just for fun...
Let me know if you try it! I'd love to see your finished projects.
I'm linking up to Thrifty Decor Chick's Before & After party! Check it out for more great ideas!
More projects coming soon!







No comments:
Post a Comment