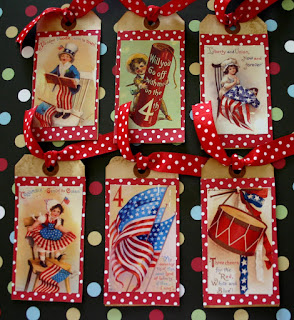
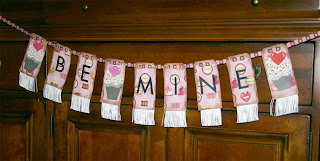
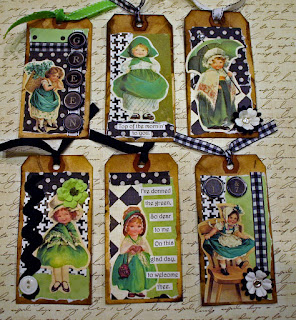
Today's project is a very easy one ... I'm going to show you the process I use to get the stained/aged/vintage/grungy look for hangtags.
I purchase regular manila tags from an office supply store. This package of 100 was less than $5 at Office Depot
I purchase regular manila tags from an office supply store. This package of 100 was less than $5 at Office Depot
Preheat oven to 350 and while that's warming up, remove the strings from the tags. This is just personal preference...they can be left on if you wish.
Next, dunk the tags in a pot of coffee. It doesn't matter if the pot is old, fresh, hot, cold, or decaf. Just dunk 'em in coffee and let them sit in the coffee for 10 minutes or so.
Use a large dish if you plan to do a lot of tags. Here I used a fork to weight them down and keep them in the coffee...
Next, lie the tags flat on a cookie sheet and make sure they do not overlap. Go ahead and get a few cookie sheets going at once.
Put the cookie sheets in the oven for about 12-15 minutes. Watch them closely so they do not burn! The tags will curl up some, and this is OK. I've found they will flatten out pretty good later.
Optional: take the cookie sheet out of the oven about halfway through and, using coffee-dunked fingers, flick them with more coffee for random "aged" spots. Then return to the oven to finish. (For the over-achievers out there, you can put the coffee in a spray bottle and spritz the tags that way.)
Remove from the oven. If you want the tags darker, you can repeat all steps. Or just try experimenting with soaking the tags longer or leaving them in the oven longer to get your tags just right.
To flatten the tags, I stack them neatly and put them in a ziplock bag. I remove as much air as I can from the ziplock bag, and they tend to flatten themselves out. I keep them stored in the ziplock bag until I'm ready to use them.
Now the best part...decorating the tags!
Hope you enjoy this tutorial! Now let's go make some tags...


No comments:
Post a Comment