This week I tried my hand at making a gingerbread themed tassel ornament. Here’s how I made mine…
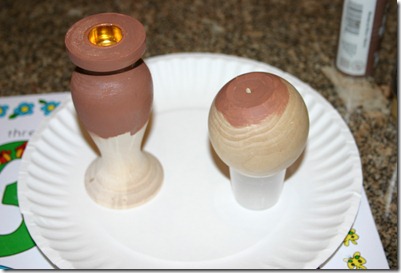
First, I went to Hobby Lobby and bought a wooden candlestick holder and a wooden ball (with flat bottom) and painted them brown (Folk Art Teddy Bear Brown and shading with Folk Art Real Brown).
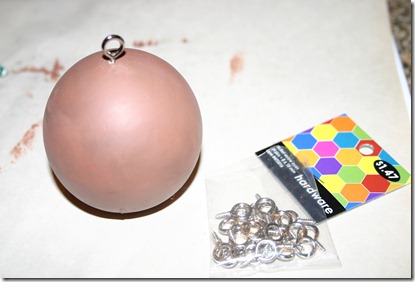
I also purchased some eyelet screws from Hobby Lobby and put one in the center at the top of the ball. To get the hole started, I hammered a small nail first, then it was easy to screw in the eyelet.
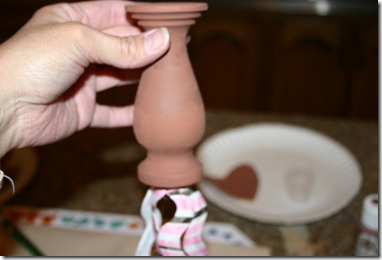
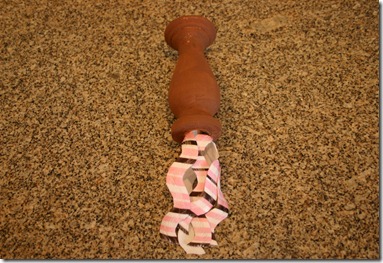
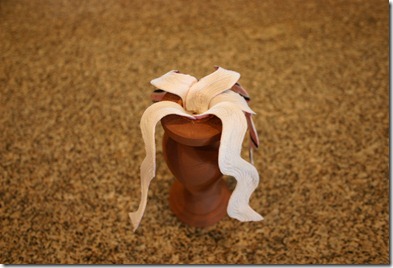
Time to get out your glue gun! I used about 6-7 different ribbons and a couple of fringe pieces in varying widths and patterns and started gluing. I started at the bottom and glued a few strips of wide striped rick rack. (Note, the bottom of the tassel is actually the top of the candlestick holder. I hot glued the pieces around the rim of the holder.)
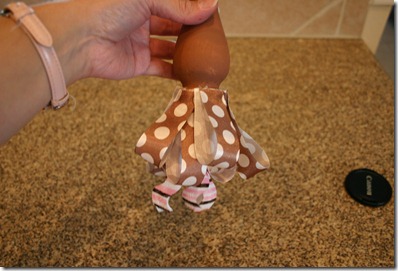
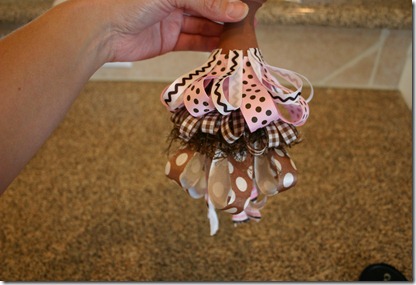
Next, I glued ribbon into loops around the base of the tassel.
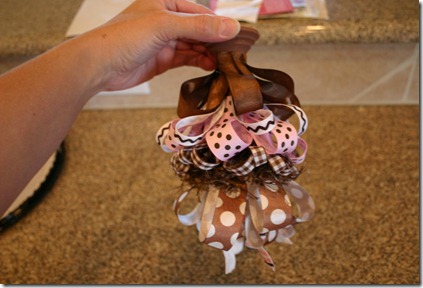
Keep going with different ribbon as you create new layers up the tassel, being careful not to cover up previous layers. I like the loops because it created a lot of volume. Be sure your strips are long enough to loop and still hang where you want them to before you start gluing.
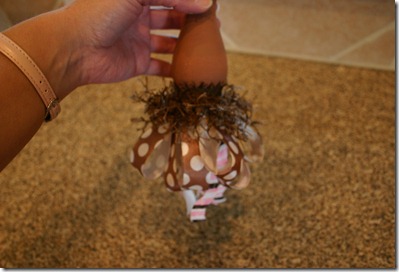
Creating more layers using fringe and ribbon…
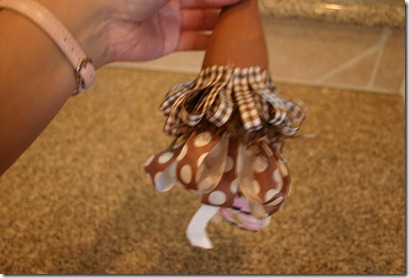
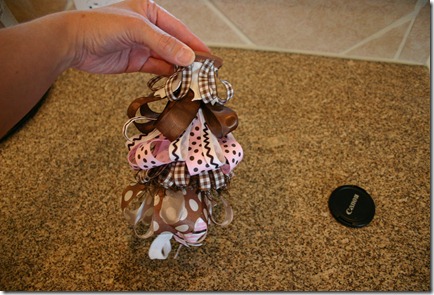
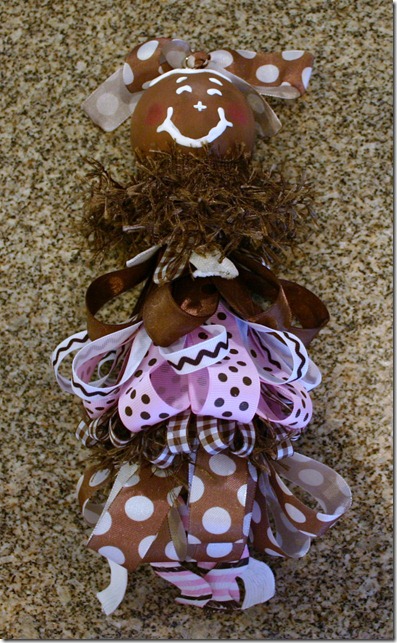
Below is where I’d do things different next time. When I got to the top, I did a row of dangling white rick rack before the last layer of brown gingham. If I make another tassel, I’d do all ribbon loops and/ or add another layer of fringe just for the fullness.
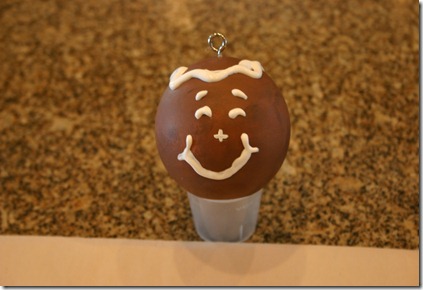
I painted a gingerbread face on the ball using white Folk Art dimensional paint, and while that was drying…
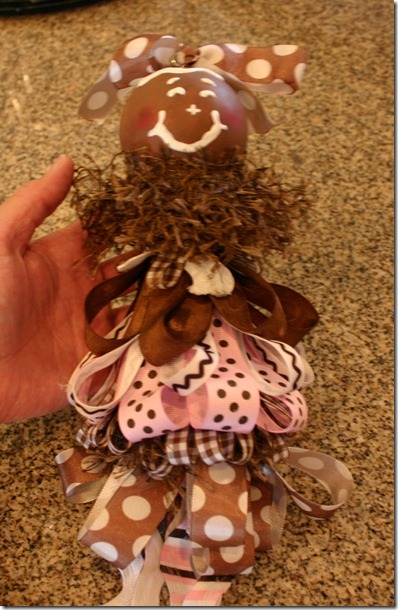
… I glued a braided fringe around the top edge of the tassel, covering all the end pieces of the ribbons and excess glue. Then I hot glued the “head” to the tassel and tied a bow in the eyelet on top! (There’s still room in the eyelet for an ornament hook for hanging.)
Below are a couple of photos of the final tassel.
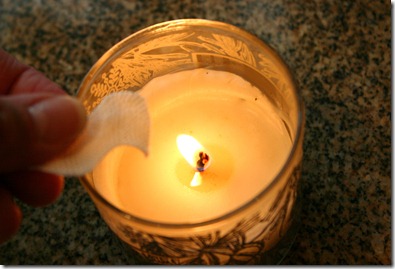
One trick I tried was singeing any raw edge of fringe or rick rack to keep it from fraying. (This wasn’t necessary on the layers with loops, because both raw edges are out of sight.) When you hold the rick rack close enough to the flame, you can actually see it retract some and then when you’re done, you can feel a difference in the edge. It “seals” the edge with a very slight texture and keeps the edge from fraying. Nice trick. Just don’t get too close to the flame. If you actually singe or burn white rick rack it turns black, so be careful. I’m just sayin’.
Hope this tutorial was helpful! I will say it was fairly easy to do, just took a little time since I hadn’t made one before and there are a few supplies involved. The hardest part for me was picking out the ribbon! So many great choices and themes, but I opted for pink and brown…
Let me know if you make one, too! I’d love to see it. Thanks for visiting.



No comments:
Post a Comment