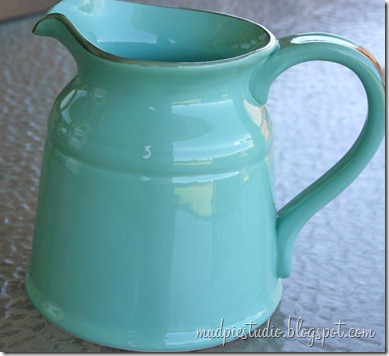
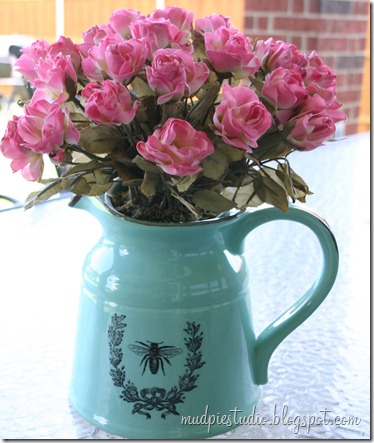
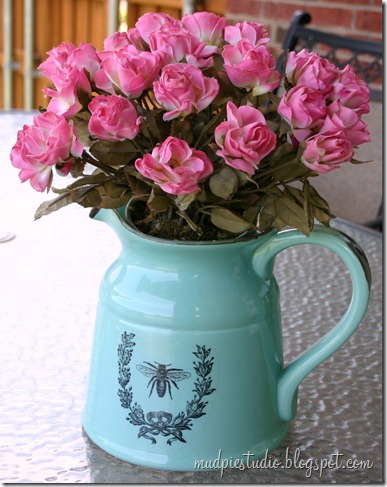
So if you read my post earlier this week, this was #4 on the projects I wanted to try this summer. And this is such a fun and easy project! I found this big ceramic pitcher at Home Goods :
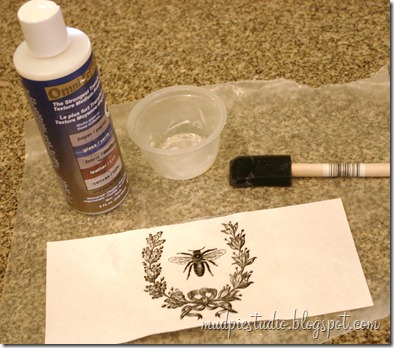
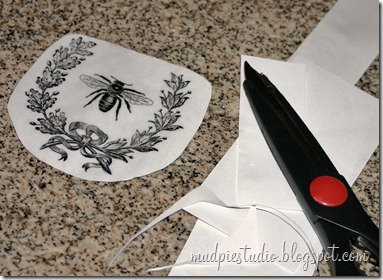
1. Print an image you’d like to transfer using a laser printer. (Ink jet will not work.) I used this free image from The Graphics Fairy:
(If you have an ink jet printer, then save the image to a memory stick and take it to an office supply store and have them print it for you on a laser printer. I took mine to Office Depot where a black and white copy is less than 50 cents.)
2. Brush three layers of Omni~Gel transfer medium using a sponge brush on the front of your printed image. Brush vertical strokes. Let dry. Brush horizontal strokes. Let dry. Brush diagonal strokes. Let dry. (Drying time was about 15-30 minutes each time.)
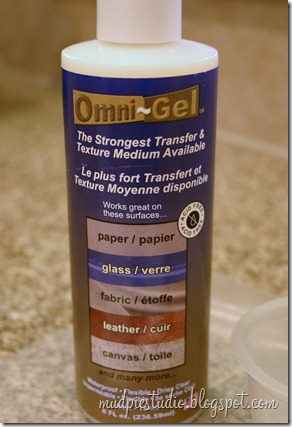
p.s. Here’s what the Omni~Gel bottle looks like:
I bought my bottle at Michaels in the verrrry back of the store where the stain and wood pieces are. It’s $10, so use your 40% off coupon if you can. This bottle will last for several projects!
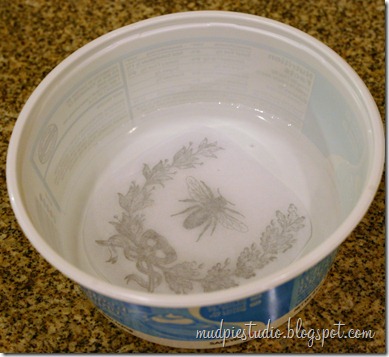
3. Once dry, cut down to size and place image face down in a bowl of water for about 15 minutes.
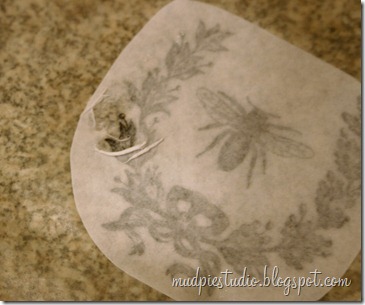
4. Take image out of water and place face down (I used a sheet of wax paper as a work surface). Using your fingertip, rub paper off the paper on the back of the image.
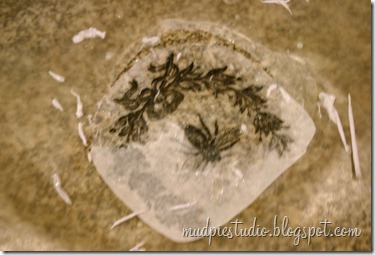
Continue to dip image and/or fingertips in water and gently rub off all the paper you can. Try to get off all the paper you can so it will lay smooth. Let dry completely (about 20-30 minutes).
Almost there…
5. After you’ve rubbed off all the paper and the image is completely dry, use Omni~Gel once more as a glue. Brush some on the back of the image and glue the image to your surface.
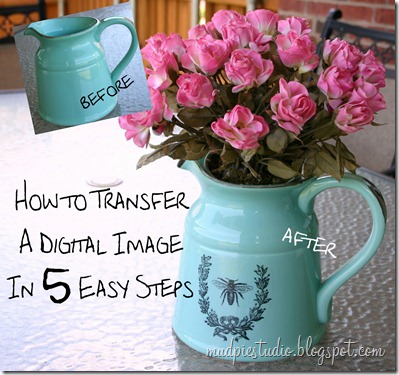
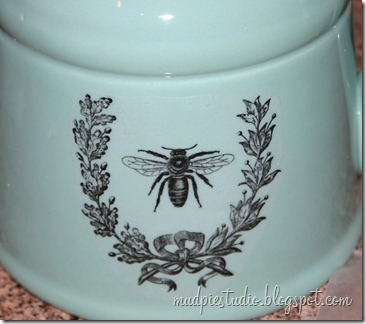
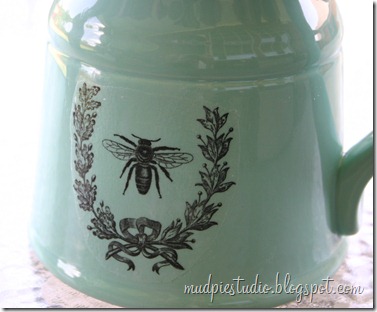
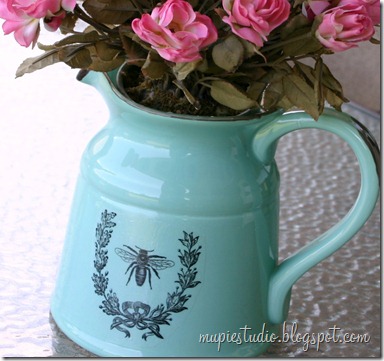
DONE! And I couldn’t be happier with the results.
Have you ever transferred a digital image? I’d love to know about it!
Thanks for visiting!



No comments:
Post a Comment