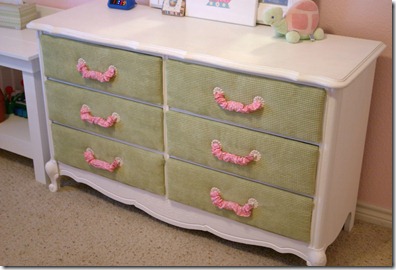
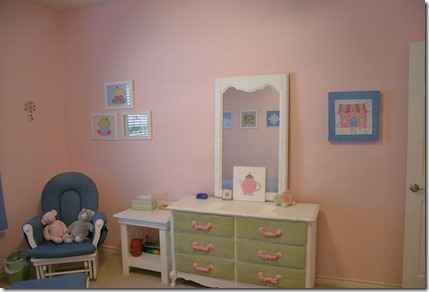
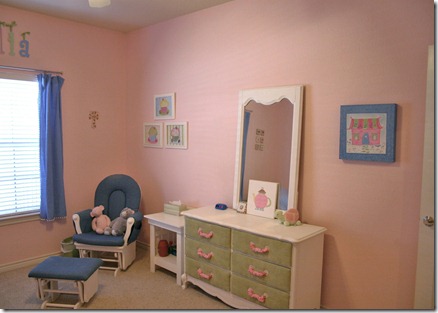
Here’s a picture of the dresser I’m talking about today:
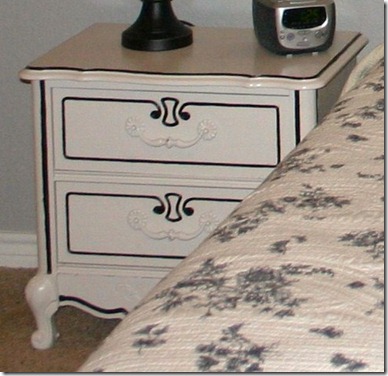
I tell you right up front I don’t have a picture of the dresser in its before state. But I will tell you it matches this nightstand (they are part of the same set, though used it different rooms in our house).

I tell you right up front I don’t have a picture of the dresser in its before state. But I will tell you it matches this nightstand (they are part of the same set, though used it different rooms in our house).
The black lines are deep grooves in the wood which have been painted.
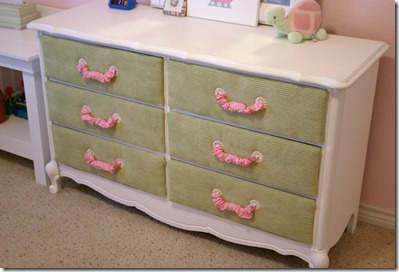
When I decided to move the dresser into my youngest daughter’s room, it required a makeover so it would match the room. I had found some gorgeous green textured fabric that I wanted to incorporate in her room somehow, and with a dresser makeover looming, an idea was born.
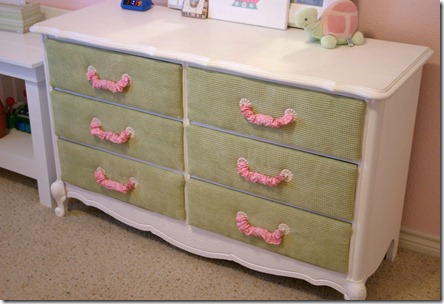
AFTER:
When I decided to move the dresser into my youngest daughter’s room, it required a makeover so it would match the room. I had found some gorgeous green textured fabric that I wanted to incorporate in her room somehow, and with a dresser makeover looming, an idea was born.
AFTER:

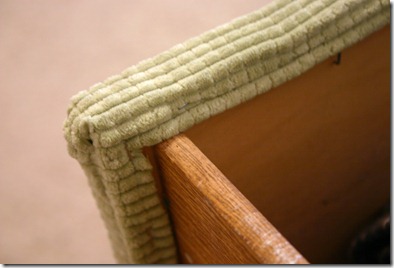
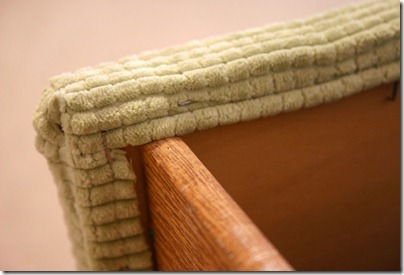
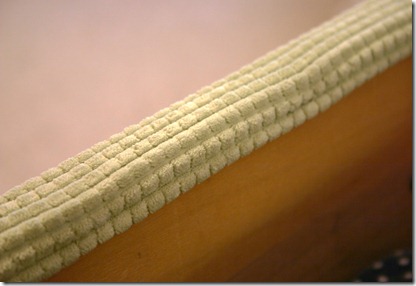
I decided to pad and cover the drawer fronts for something different. These drawers worked well for this type of project, because they had enough of a lip on the edges for me to add batting and then wrap fabric around them.
First, I cut a piece of batting the same size as the drawer front.
Next, I cut a piece of the fabric about 1.25 inches larger than the height and width of the drawer front.
Finally, I wrapped the fabric around the edges and used a staple gun to attached to the drawer fronts:
Next, I cut a piece of the fabric about 1.25 inches larger than the height and width of the drawer front.
Finally, I wrapped the fabric around the edges and used a staple gun to attached to the drawer fronts:

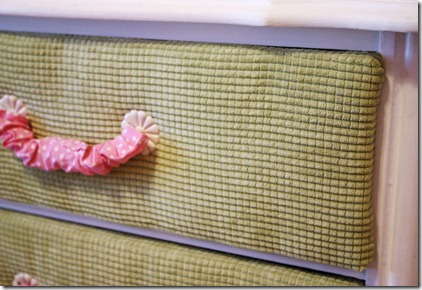
The drawer pulls are a nonstandard size, and rather than replacing them, I opted for a more colorful solution of covering them with fabric.
For the fabric on the drawer pulls, I measured the width of the pull (about 5.5 inches) and then doubled that. This would give me 11 inches of fabric so I could have a scrunchy look to the pull. I folded the fabric in half lengthwise and then sewed the edges together, leaving the ends open. I slipped the fabric onto the existing pulls, then just replaced the hardware.

This room started as a nursery, but as it grows with my daughter my inspiration for decorating is this room:

(source: Pottery Barn Teen, retired bedding)
I like how the walls are pink, but everything in the room is green or blue. So far, I’ve got the pink walls, the PB drapes, a green dresser, and a blue & white polka dot quilt on the bed. Not a big start, but a start none the less!

(source: Pottery Barn Teen, retired bedding)
I like how the walls are pink, but everything in the room is green or blue. So far, I’ve got the pink walls, the PB drapes, a green dresser, and a blue & white polka dot quilt on the bed. Not a big start, but a start none the less!
By the way, the dresser drawer project worked so well, I recreated a second one (garage sale, $10) for my other daughters room: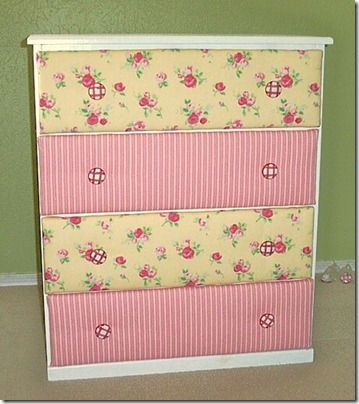

Happy Furniture!
Linking to:


No comments:
Post a Comment