This week I created a sign for a special order.

The client wanted “nest” with a wooden applique. Here’s how I completed the task…
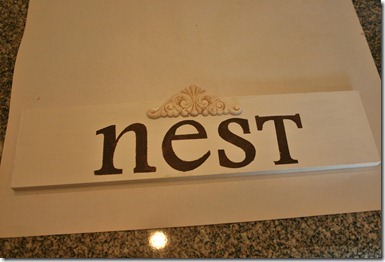
After sanding and spray painting the board, I glued a wooden applique to the top, letting half of it hang off the board.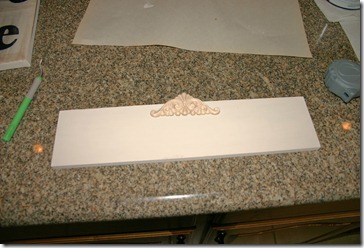

The client wanted “nest” with a wooden applique. Here’s how I completed the task…
After sanding and spray painting the board, I glued a wooden applique to the top, letting half of it hang off the board.

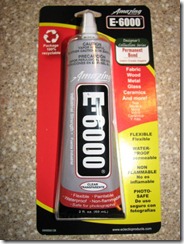
The decorative applique is from a craft store. I use E6000 for gluing wood-to-wood pieces. It works very well on these surfaces. It is also available in craft and home improvement stores and looks like this:
I used my Cricut to create a stencil and centered it on the board.
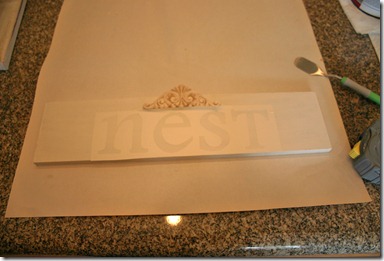

I used my Cricut to create a stencil and centered it on the board.

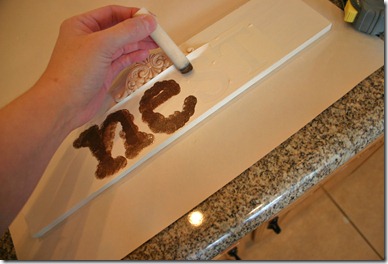
Starting with a DRY dauber brush that I dabbed in some brown paint, I pounced the brush up and down on the stencil.
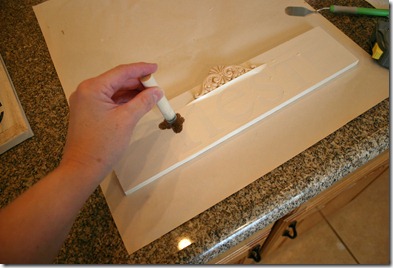

If your brush is not DRY, the paint will seep under your stencil and you won’t have clean lines. Also, pouncing up and down rather than using brush strokes will also help the paint from seeping under the stencil.

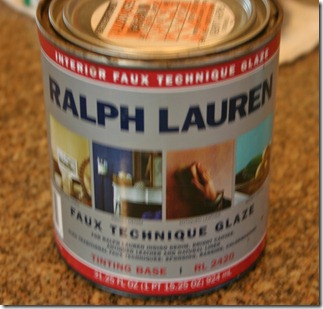
To glaze, you can use a sponge brush to apply and then just wipe it off. I used a Q-tip to get the glaze in all the crevices. I sanded it slightly after it dried.
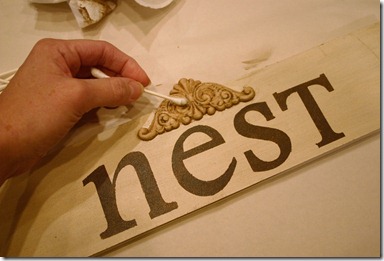

You can repeat the glazing process as many times as you’d like to get the look you want. Any amount of glazing will give your piece a finished, aged look.

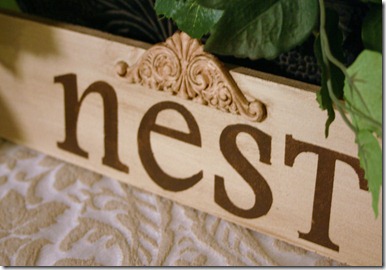



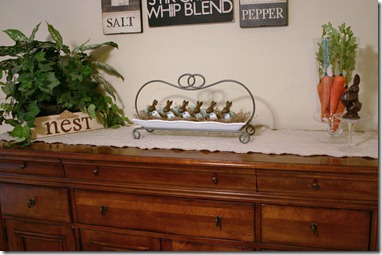
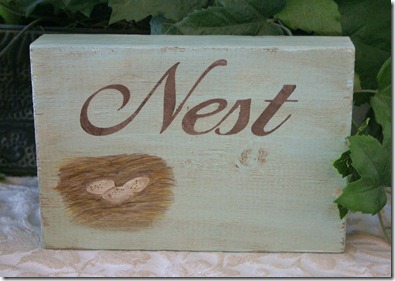
Since this one is going to my client, I painted another one using the same process for the stenciling. Instead of an applique, I hand painted a nest.
Thanks for visiting!
Linking to:
Stories From A to Z - Tutorial Tuesday
The Lettered Cottage
Chic on a Shoestring
Just a Girl
Stories From A to Z - Tutorial Tuesday
The Lettered Cottage
Chic on a Shoestring
Just a Girl


No comments:
Post a Comment