I love birthdays.
And words written in black and white script.
And distressed wooden signs.
And shiny things.
So, it was no surprise to me when I saw this project on Pinterest that it ended up on my Creative To Do list.
Here’s how mine turned out:
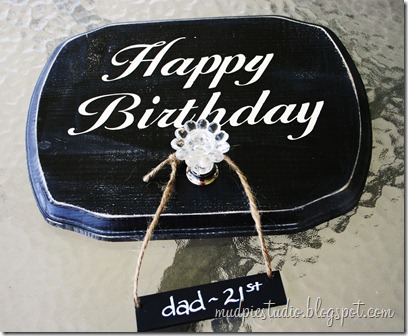
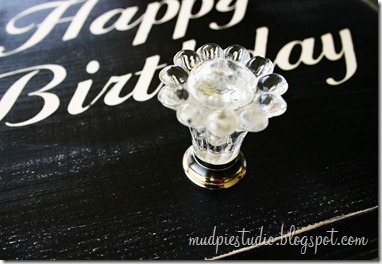
I started with a scalloped board and crystal shiny drawer pull I purchased at Hobby Lobby.
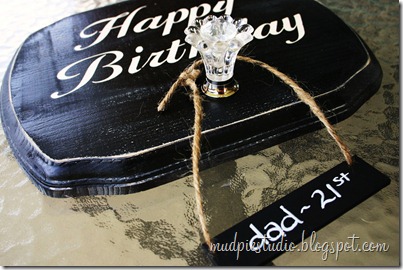
First I painted the board (using my Cricut for the lettering), then distressed the edges with sandpaper.
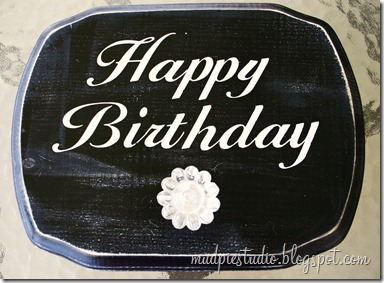
Next, I attached the drawer pull. (Note: Once the drawer pull was screwed in, the part of the screw that extended past the board on the back had to be cut and then sanded down so it can lay flat.)
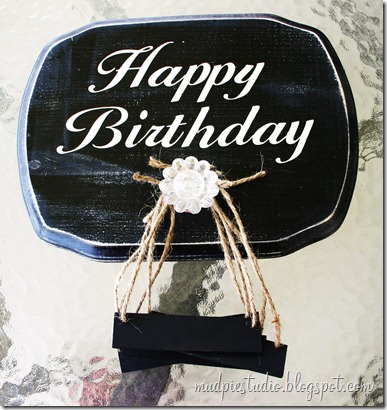
The tags are made from paint stir sticks, and were cut about 4.5 inches wide with two small holes drilled at the top for the jute string.
source
Stir sticks make great wooden tags and look great hanging from the crystal knob.

I spray painted the tags using Rustoleum Chalkboard paint.
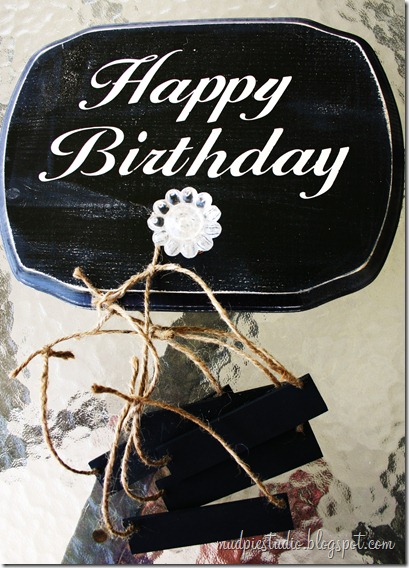
I love using chalkboard so the names can easily be changed.
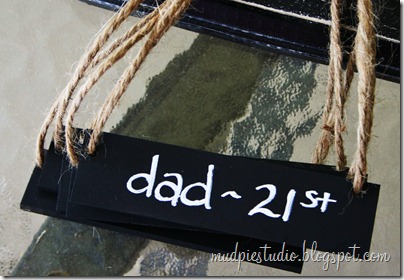
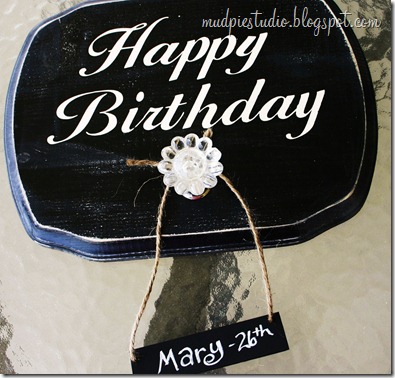
What a fun way to remember birthdays!
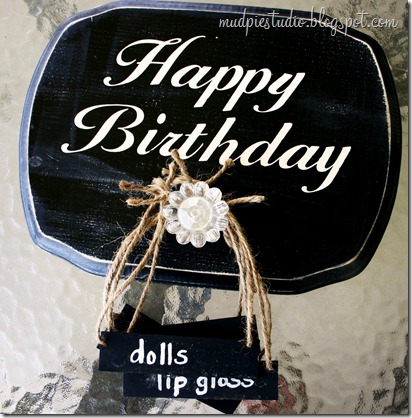
Here’s another idea I had … let kids write their Birthday Wish List items on the tags.
Lori



No comments:
Post a Comment