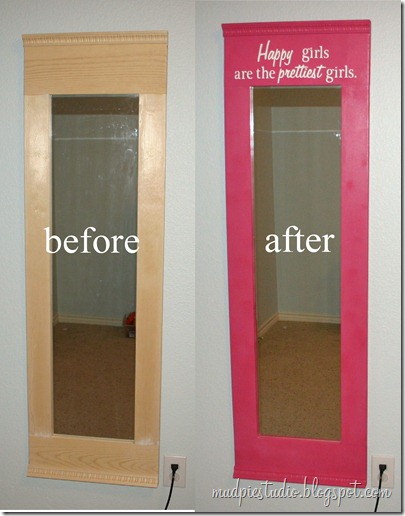
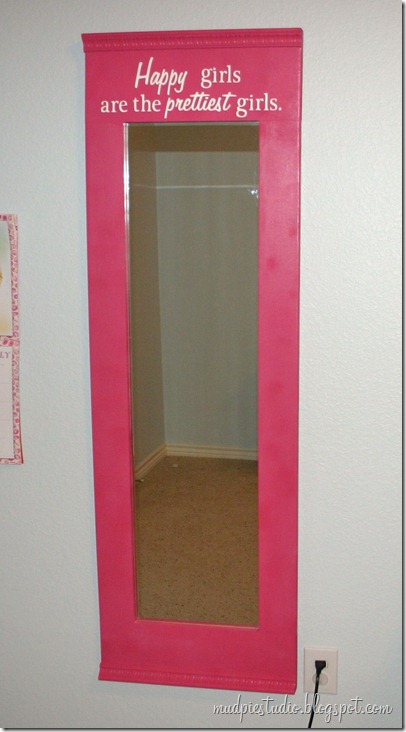
So, I had this idea of having mirrors built for my daughters’ rooms. I wanted something full length, with a chunky wood frame around it so I could paint it. I’ve finally finished one of them… and today I’m sharing the result:
After finding inspiration like this and this on Pinterest, I knew what I wanted. So my dad and I spent the morning at Home Depot and picked out the mirrors, the wood, and the molding and sketched out The Plan.
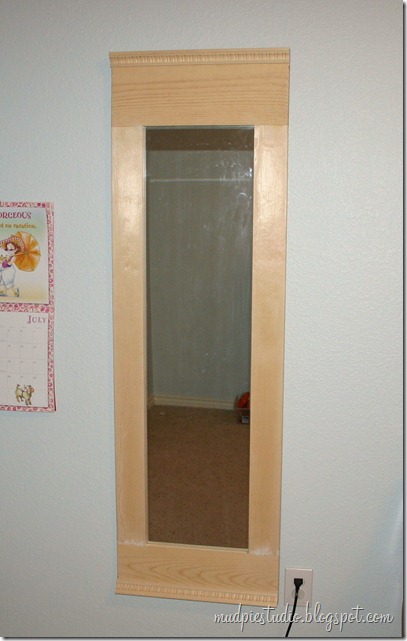
We made two of them just alike, and they’ve been hanging like this (unfinished) in my girls’ rooms for months while I redecorate their rooms.
But after many months of debating color and quote, I finally finished one! Yay!
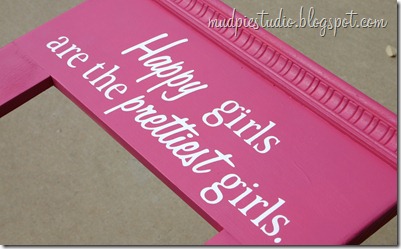
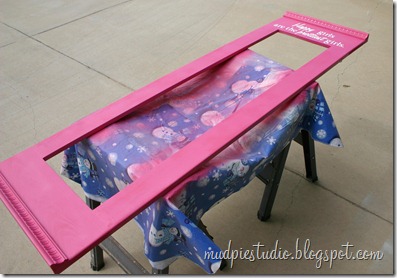
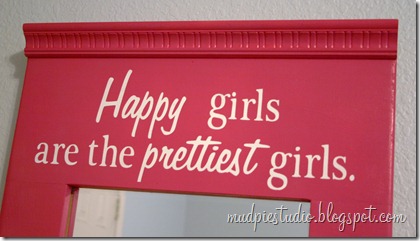
I painted the top portion white, then put on the quote using contact paper I cut on my Cricut. Then I gave everything a fresh coat of hot pink spray paint (Rustoleum’s Berry Pink). Once dry, I removed the contact paper revealing the white wording.
I love the extra touch of molding on the top and bottom of the frame.
Here’s a tip for any of you who do crafty paint projects: use old vinyl tablecloths as drop cloths. They are a great size, cheap, and disposable.
Finally finished!
One mirror down, one to go.
Any suggestions for a quote I can use on the next mirror?




No comments:
Post a Comment