I love this shirt I saw a few weeks ago on Pinterest, and I wanted to share a tutorial on how I made one for my daughter.
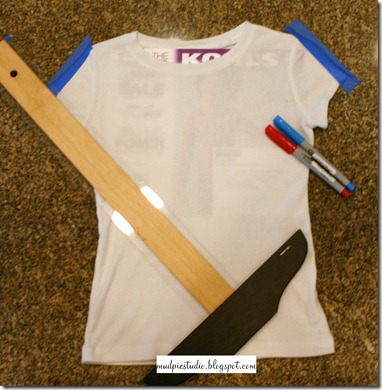
I started with a plain white tee and taped it down to prevent wrinkles while I worked. I put a sheet of paper (ok, it was Kohl’s ad) under the shirt to keep the ink from bleeding through to the back of the shirt.
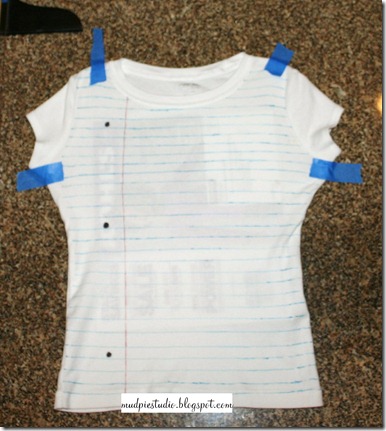
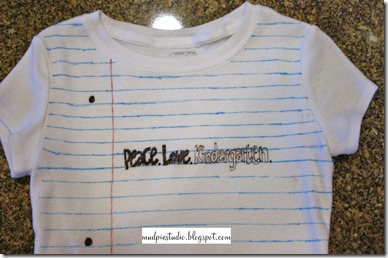
Then I used a ruler and blue & red Sharpie markers to draw the lines.
I was NOT precise with the spacing of the lines. I just eyeballed it…simply because this shirt will be worn by a very active child, who I promise you will not sit still long enough for you to notice any imperfections. =)
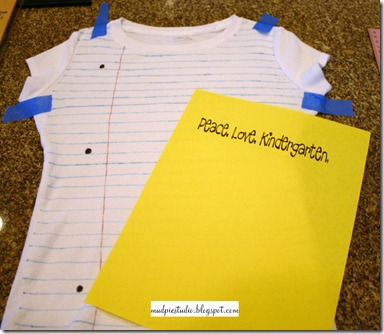
Next, I printed some text for the front of the shirt on copier paper.
I slipped the paper inside the shirt and lined up the text where I wanted it to go.
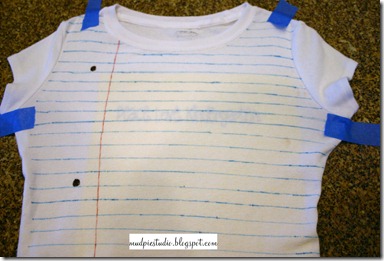
Then I used a black sharpie to color in the words. I thought my letters were getting too close together and would be difficult to read, so I only outlined the last word. Turns out, I like this better than if I’d colored in everything.
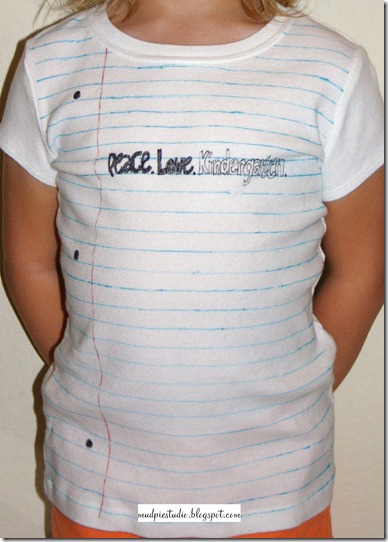
Ready for school!
Thanks for visiting!
Linked to:



No comments:
Post a Comment