Tuesday, November 2, 2010

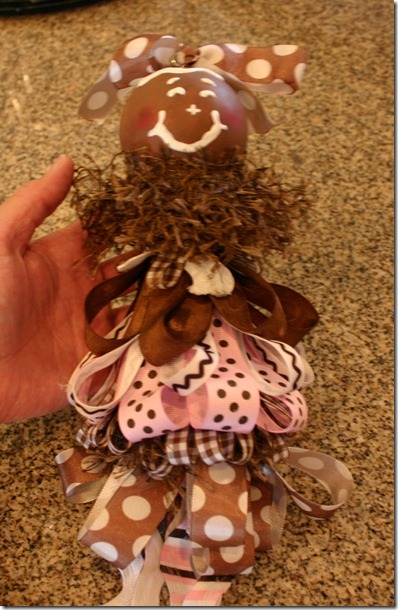
This week I tried my hand at making a gingerbread themed tassel ornament.  Here’s how I made mine…
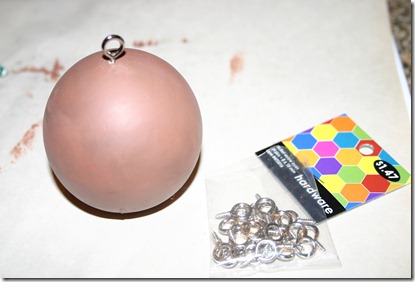
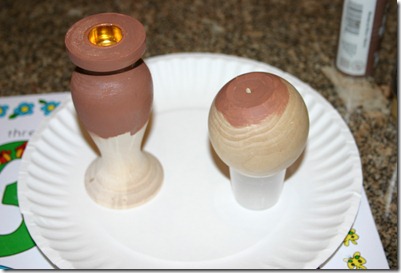
First, I went to Hobby Lobby and bought a wooden candlestick holder and a wooden ball (with flat bottom) and painted them brown (Folk Art Teddy Bear Brown and shading with Folk Art Real Brown).
IMG_1037
I also purchased some eyelet screws from Hobby Lobby and put one in the center at the top of the ball.  To get the hole started, I hammered a small nail first, then it was easy to screw  in the eyelet.
IMG_1040
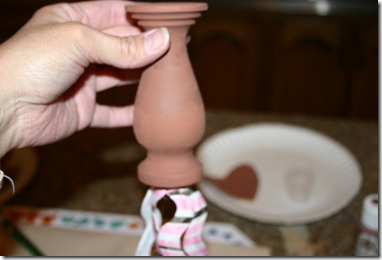
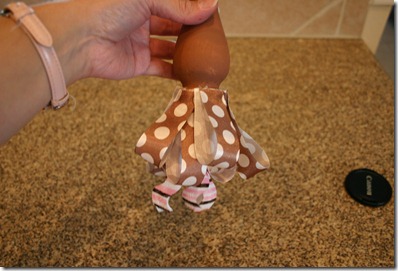
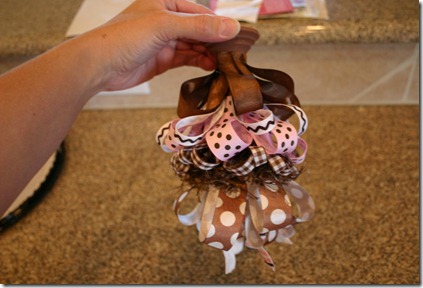
Time to get out your glue gun! I used about 6-7 different ribbons and a couple of fringe pieces in varying widths and patterns and started gluing.  I started at the bottom and glued a few strips of wide striped  rick rack. (Note, the bottom of the tassel is actually the top of the candlestick holder.  I hot glued the pieces around the rim of the holder.)
IMG_1041 IMG_1043
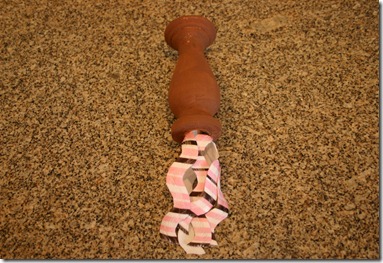
Below you can see how I glued these first strips into the candle holder area…IMG_1045
Next, I glued ribbon into loops around the base of the tassel.
IMG_1046
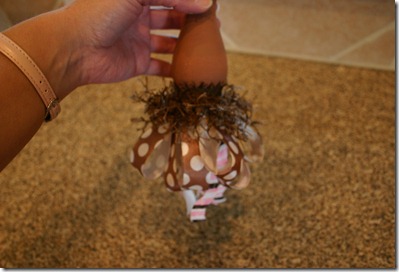
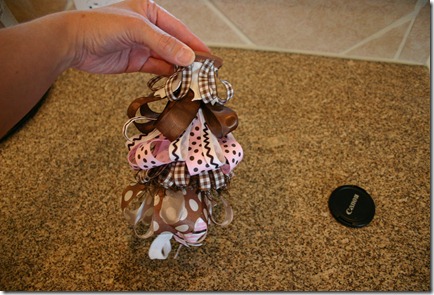
Keep going with different ribbon as you create new layers up the tassel, being careful not to cover up previous layers.  I like the loops because it created a lot of volume.  Be sure your strips are long enough to loop and still hang where you want them to before you start gluing.
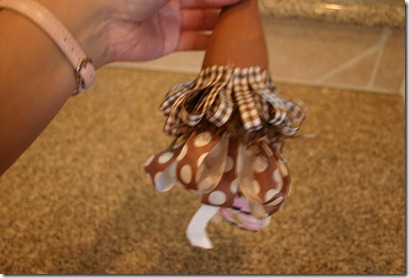
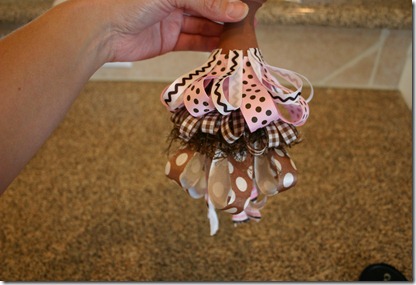
Creating more layers using fringe and ribbon…
IMG_1047 IMG_1048 IMG_1049 IMG_1050
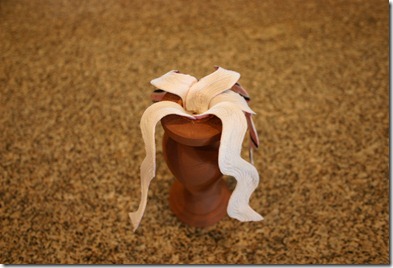
Below is where I’d do things different next time.  When I got to the top, I did a row of dangling white rick rack before the last layer of brown gingham.  If I make another tassel, I’d do all ribbon loops and/ or add another layer of fringe just for the fullness.
IMG_1052
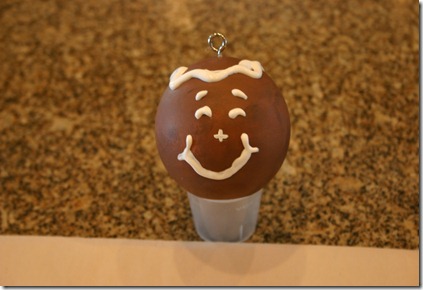
I painted a gingerbread face on the ball using white Folk Art dimensional paint, and while that was drying…
IMG_1055
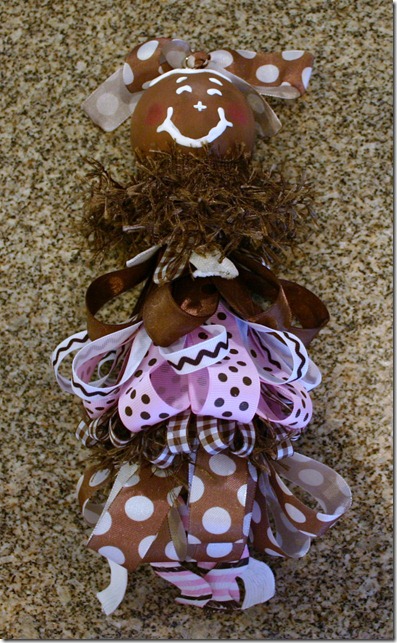
… I glued a braided fringe around the top edge of the tassel, covering all the end pieces of the ribbons and excess glue.  Then I hot glued the “head” to the tassel and tied a bow in the eyelet on top!  (There’s still room in the eyelet for an ornament hook for hanging.)
IMG_1056
Below are a couple of photos of the final tassel.
IMG_1058 IMG_1059
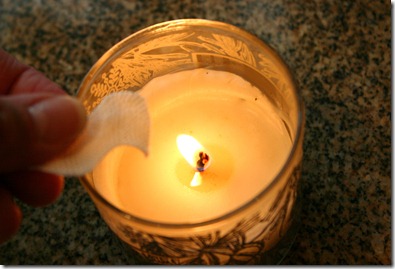
One trick I tried was singeing any raw edge of fringe or rick rack to keep it from fraying.  (This wasn’t necessary on the layers with loops, because both raw edges are out of sight.)  When you hold the rick rack close enough to the flame, you can actually see it retract some and then when you’re done, you can feel a difference in the edge.  It “seals” the edge with a very slight texture and keeps the edge from fraying.  Nice trick.  Just don’t get too close to the flame.  If you actually singe or burn white rick rack it turns black, so be careful. I’m just sayin’.
IMG_1051
Hope this tutorial was helpful!  I will say it was fairly easy to do, just took a little time since I hadn’t made one before and there are a few supplies involved.  The hardest part for me was picking out the ribbon! So many great choices and themes, but I opted for pink and brown…
IMG_1058
Let me know if you make one, too!  I’d love to see it.  Thanks for visiting.
Posted in : ,

Thursday, October 21, 2010

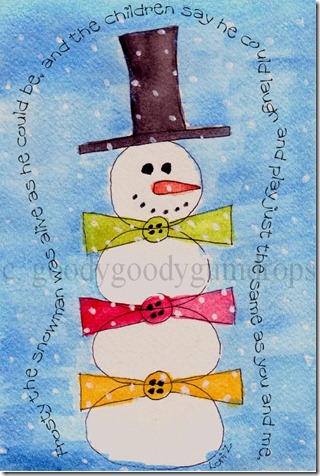
A new painting featuring Frosty and some fun holiday song lyrics.
snowman with watermark
The one below reads:
"Frosty the Snowman was alive as he could be,
and the children say he could laugh and play
just the same as you and me."
 snowman2 with watermark
What are you favorite holiday lyrics?
I’d love to hear!
Posted in : ,

Wednesday, October 20, 2010

Just a little painting I created this afternoon.  After I finished, I scanned it so I could play around with a new software I have that lets me wrap text…
pumpkin seeds with watermark
I love pumpkins!
Posted in :

Monday, October 18, 2010

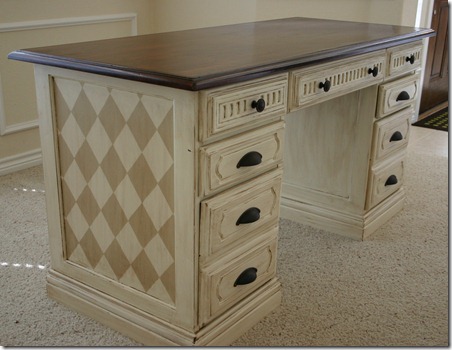
First of all, let me say I’m IN AWE of you ladies that re-do furniture.  The before and after photos almost NEVER show the blood, sweat and tears of the “during”.  And now that I’ve done it, I can truly appreciate all the hard work I know you gals are putting into your furniture makeovers!
I’ll get right to the good stuff…

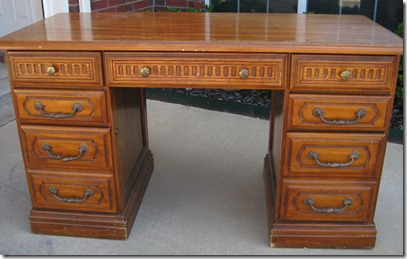
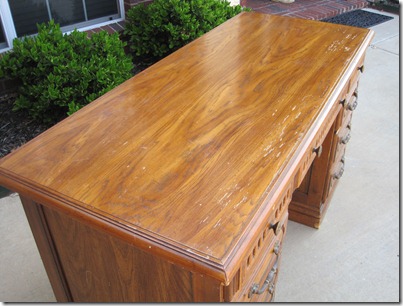
BEFORE
Desk1
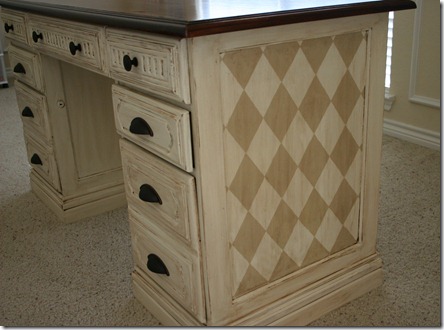
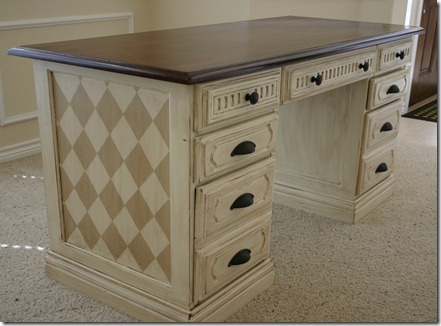
AFTER
Desk23  
 

Now for the details…
This desk was a $35 Craigslist purchase I made five months ago (May).  Yes, it took me that long (it’s now October) because I made the mistake of buying it at the beginning of summer.  A Texas summer, if you get my meaning. And now that the temps have dropped into the double digits again, I’ve been able to wrap up this “little” project.
I purchased this sad looking desk for $35, hauled it home in hubby’s pickup truck, and promptly plopped it on the driveway for some “before” photos…

 Desk1

Pretty rough finish…there is a nail bubble in this area that doesn’t really show in the photo…


 Desk2

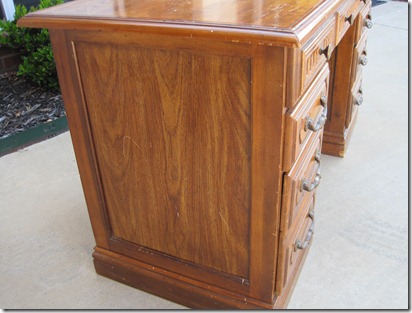
The desk came with broken hardware which was fine ‘cause I knew I’d replace the dated look anyway… 

Desk3 

scuffed edges… 


Desk4 Desk5

Desk6

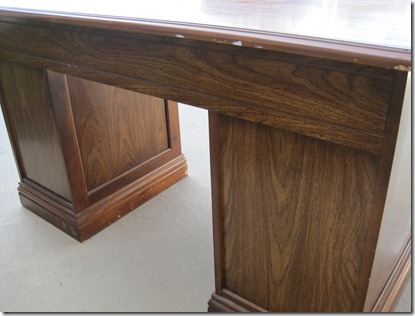
The side and back panels were a totally different kind of wood than the frame, desktop, and drawers…

Desk7

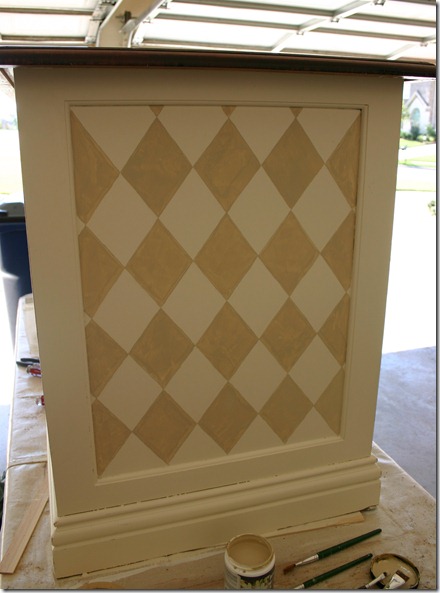
I knew from the beginning what I was going to paint on these side panels… 

 Desk8 
 Desk9

The photo below shows the desktop finished (restained) and the bottom portion stripped of the original finish.  It’s all ready to paint now…

 Desk10

Ooooh, creamy cottage white goodness…finally starting to see some progress!  (Desk color = Behr Cozy Cottage in Eggshell finish) 

Desk11

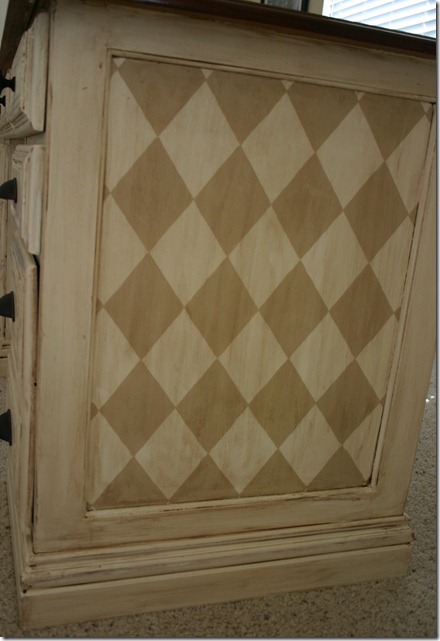
Below shows the markings of the harlequin pattern I painted on the side panels.  I used a pencil, ruler, and a measuring tape.  I started by marking an “X” from corner to corner and worked my way to the edges, spacing lines 3 inches apart.
 Desk12 

I wasn’t too worried about leaving the pencil lines.  I made the pencil marks pretty light, plus I knew the paint and the glaze wash would cover them up, which it did!
 Desk13 Desk14

I used my acrylic paint brushes and went to work on the diamonds.  It took 3 coats to get the look I wanted.  The photo below was taken after one coat, and you can still see the unevenness of the color.  (Harlequin pattern = Behr Gobi Desert in flat matte finish.  I only bought a sample size ‘cause I knew I wouldn’t need much. See it at bottom of the pic?)
 Desk15

I didn’t get any photos of the “washing” technique but you can find tutorials of it all over blogland.  I used Ralph Lauren’s Smoke Glaze and just brushed it on, then wiped it off.  The glaze gets into the crevices (and believe me, this desk had a TON) and gives a nice aged look to the finish. 

 
Desk21 Desk22

I’ve been wanting to use these popular cup-type drawer pulls for some time now…

 Desk23

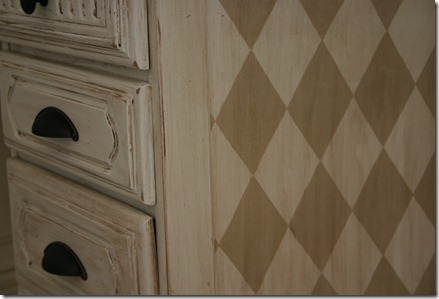
A few final close-ups of the aged finish.  I also distressed all the edges with a sander.

 Desk24 Desk25 Desk26

Finally finished… 

Desk23 
 

Thanks for looking!

Thursday, October 14, 2010

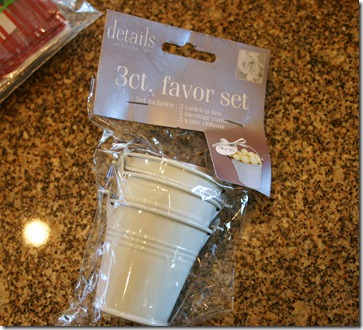
This week I was cleaning out and de-stashing my ever-growing pile of craft supplies when I came across this package of three wedding favors from the $1 store. I’ve had this forever…IMG_0511
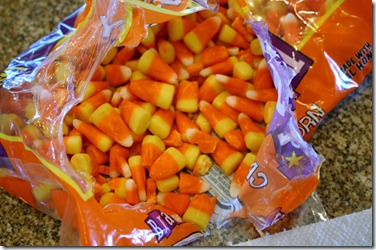
Next, I got these out of the pantry:IMG_0512
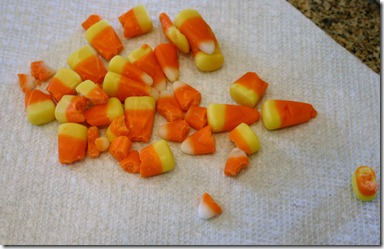
After sifting through a TON of broken pieces…IMG_0515
…seriously…what’s up with this Mr. Brachs?!…IMG_0516
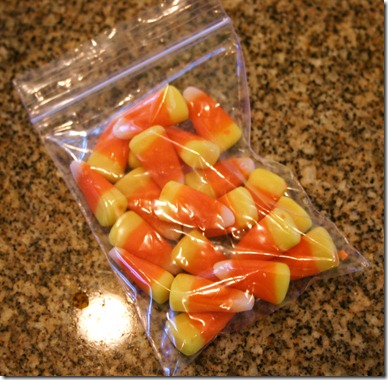
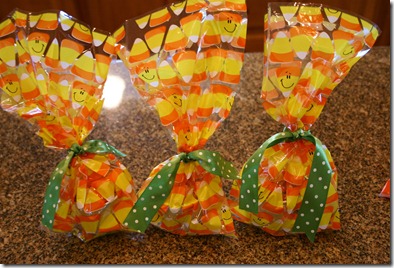
I put a handful of *whole* candy corns in some little bitty baggies:IMG_0517
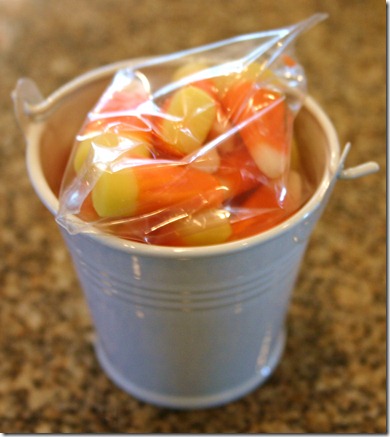
Then I put the bags in the pails…IMG_0518
And set the pails in the treat bags and tied them with scrap ribbon…IMG_0519
Easy gift idea for teachers, right!?  And I just destashed a $1 store package of pails I’ve had forever, a few leftover Halloween treat bags, 3 jewelry baggies, and some scrap ribbon.  That’s what I call a win-win!
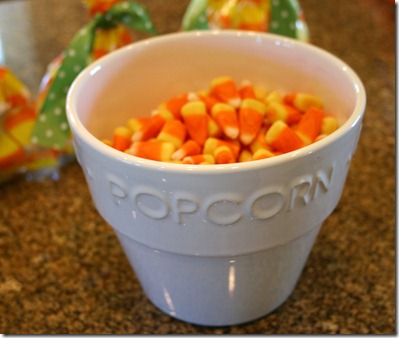
I put the leftovers  in a candy dish for a party this weekend…IMG_0522
Thanks for visiting! Linking up to Me & My Bucket! Also linking to New Nostalgia!

Posted in : , ,

Friday, October 8, 2010

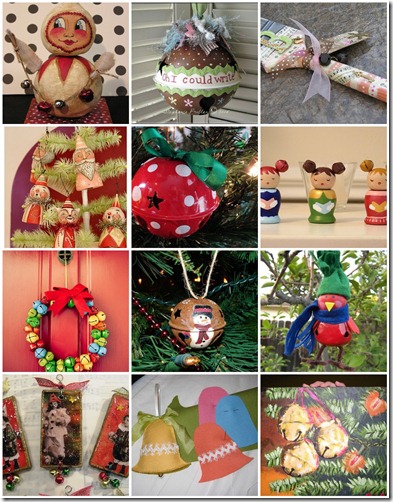
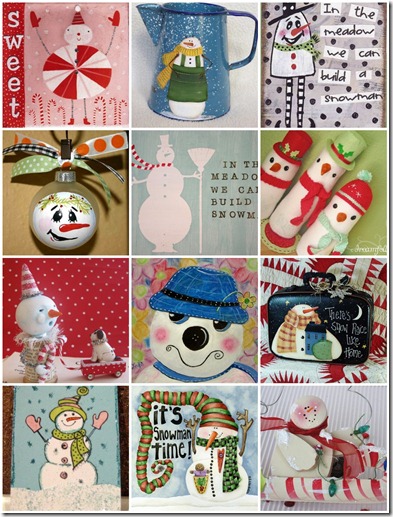
I’ve been gathering some inspiration for a holiday swap! Looking forward to a fun filled season of blessings!

Jingle Bell Inspiration
(view sources here)
Jingle Bell Mosaic

Snowman Inspiration
(view sources here)
Snowman mosaic
What are your favorites?
Posted in :

Friday, October 1, 2010

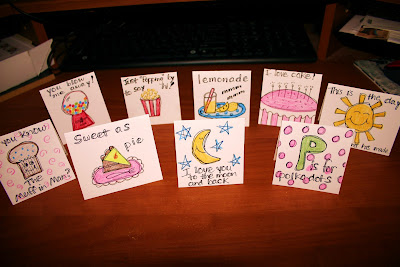
My oldest daughter started Kindergarten this year.  On the first day of school, I sent a little note in her lunch box.  She loooooved it and now requests one for everyday.  

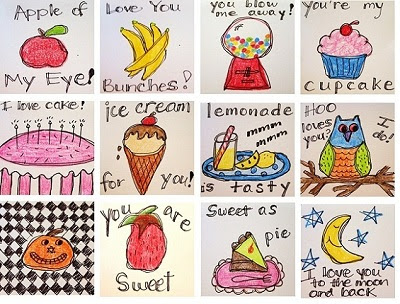
What was a quick, one-time thing is now turning into so much more!  I love creating these little notes for her lunch box!  Each one carries a simple message letting her know how special she is.  She brings them home and we are keeping them.  One day, I hope she has special memories of her Kindergarten lunch box love notes from mom!

Here are the first few I did when my daughter requested more after Day 1:


Some closeups of a few:

Here are some for Halloween:


Here are some for Christmas:

And here are a handful for everyday:


I usually create these cards in the evenings while watching TV.  Sometimes I sketch them in a notebook so I'll have the ideas for later.  Many times I sketch while I'm sitting in the carpool line waiting on my daughter or just list some themes to work on.  I write the notes ahead of time so they are ready to go when I'm making her lunch in the mornings.  

My goal is to have a different note for each day. And I hope she doesn't outgrow them before I do.  I'm having too much fun!  Thanks for visiting!

The CSI Project
Posted in : ,
Powered by Blogger.