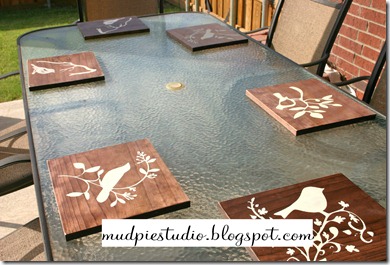
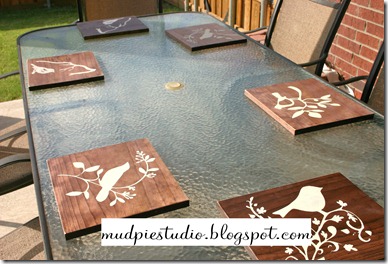
When I saw this project for stenciled bird chargers on Shanty 2 Chic’s blog, I knew it was something I wanted to try.
It’s not new and I can’t take credit for the idea, but here is my version with a tutorial.
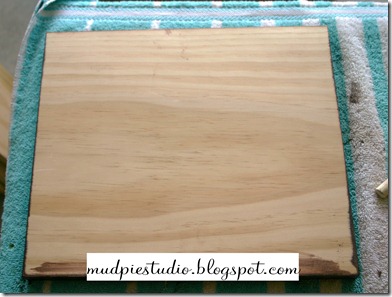
I purchased an 8’ pine board from the hardware store and cut in six 12x13 inch pieces.
For this project, I used Minwax stain in red mahogany:
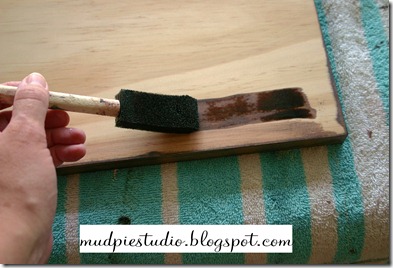
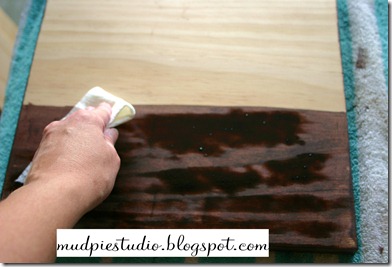
Just dip a sponge brush in the stain and then brush on the board. I brushed in the same direction as the grain.
I let it sit about a minute to penetrate.
Then just wipe off with a clean paper towel.
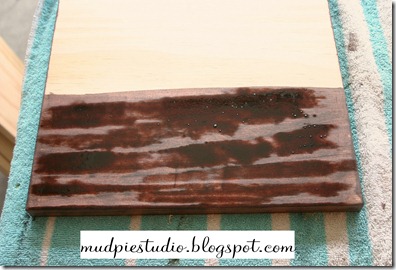
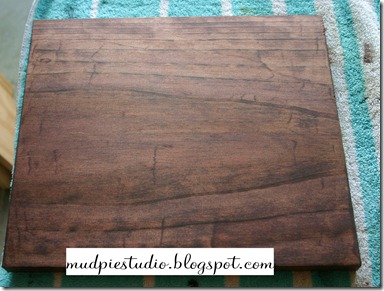
I did half of the surface area at a time so I could keep the color consistent. When it’s done it should look like this:
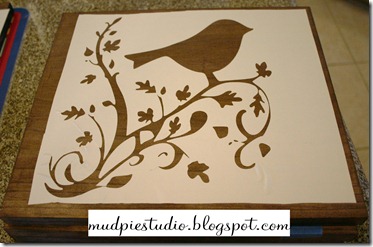
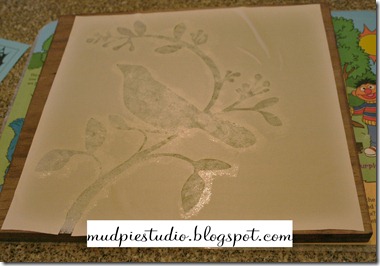
Next, I used my Cricut to cut some bird stencils on contact paper. Laying out the stencil is tricky! It took me a verrrry long time to get it just so. Be patient and take your time.
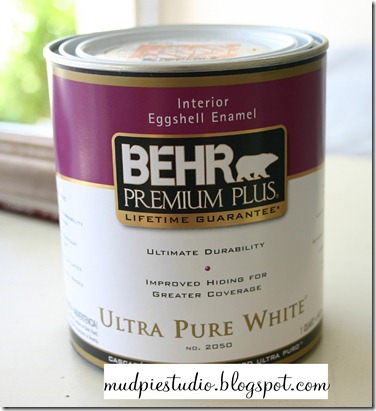
I used Behr' paint (Cozy Cottage) and a dry brush to paint the stencil area.
Use a little bit of paint on a dry brush and pounce up and down rather than brush side to side. This keeps the paint from seeping under the stencil.
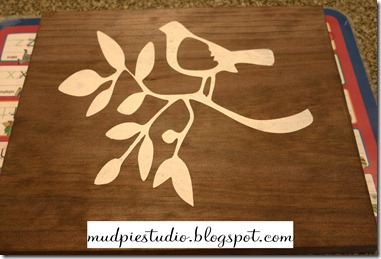
After it dries, remove the stencil. Almost done!
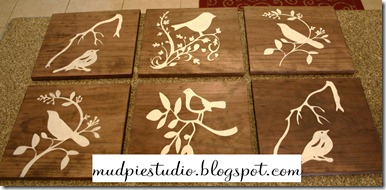
Repeat the steps for each board using a variety of stencils.
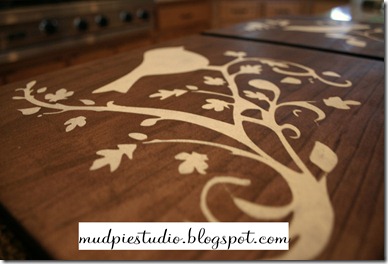
Last, I sprayed three coats of a clear matte sealer to protect the surface.
Finally done!
Thank you, Shanty Girls, for a great project!
Thanks for visiting!
Linking to:



No comments:
Post a Comment